User Groups
Rekrutek’s User Group functionality allows groups of users to share access to specific groups of Openings and stages. This creates more streamlined user management for account Administrators and better load time and user performance within Rekrutek for accounts that have hundreds of Openings.
Real customer example: A customer has 500 users that all need access to all Openings in the state of California (1000+ Openings!). Without User Groups, the account Administrators would need to assign the 1000+ Openings to each of the 500 users individually. With User Groups, they can create just one User Group called “California Openings” and assign it to the 500 users. This drastically reduces user setup time!
Create User Groups
Section titled “Create User Groups”Once User Groups are enabled in your account, follow the steps below to create a new User Group:
-
Click your initials icon in the top right corner of any Rekrutek page. Then click Company Settings in the dropdown.
-
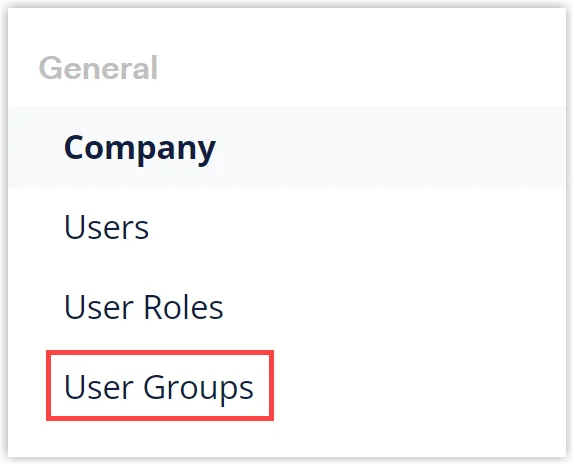
Under General Settings in the left sidebar, click User Groups.
-
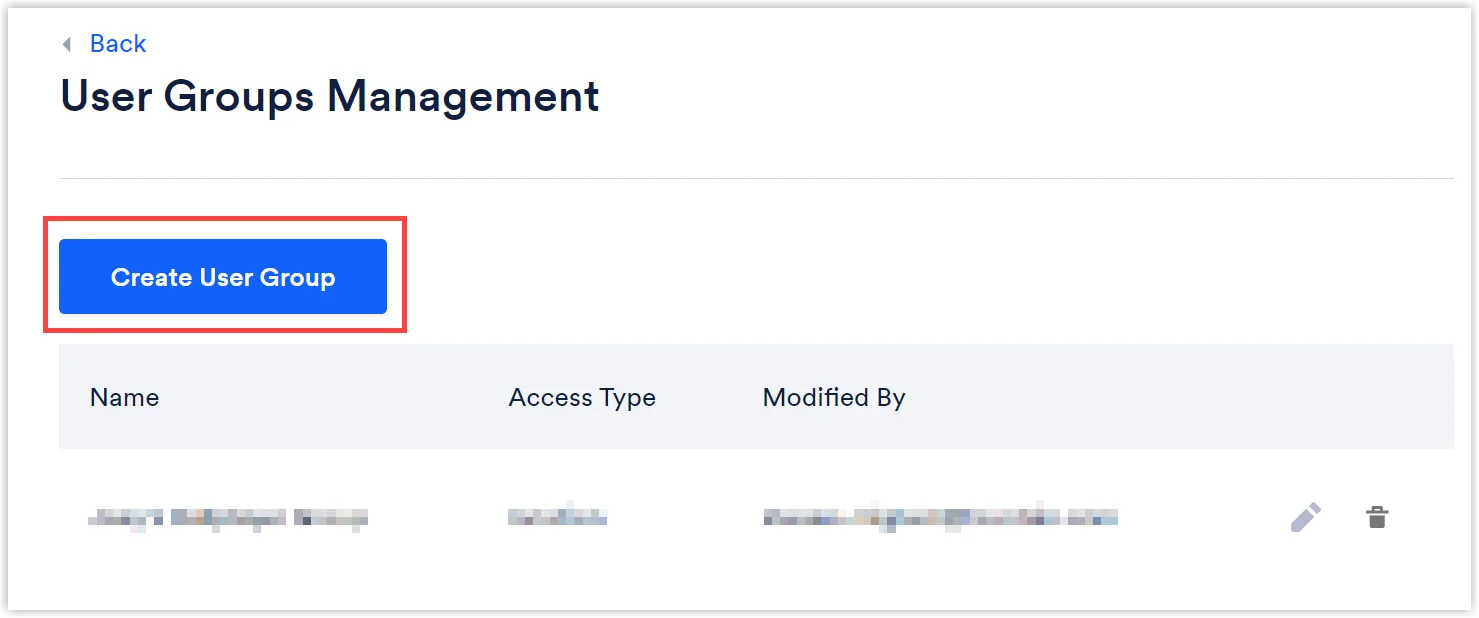
Click Create User Group.
-
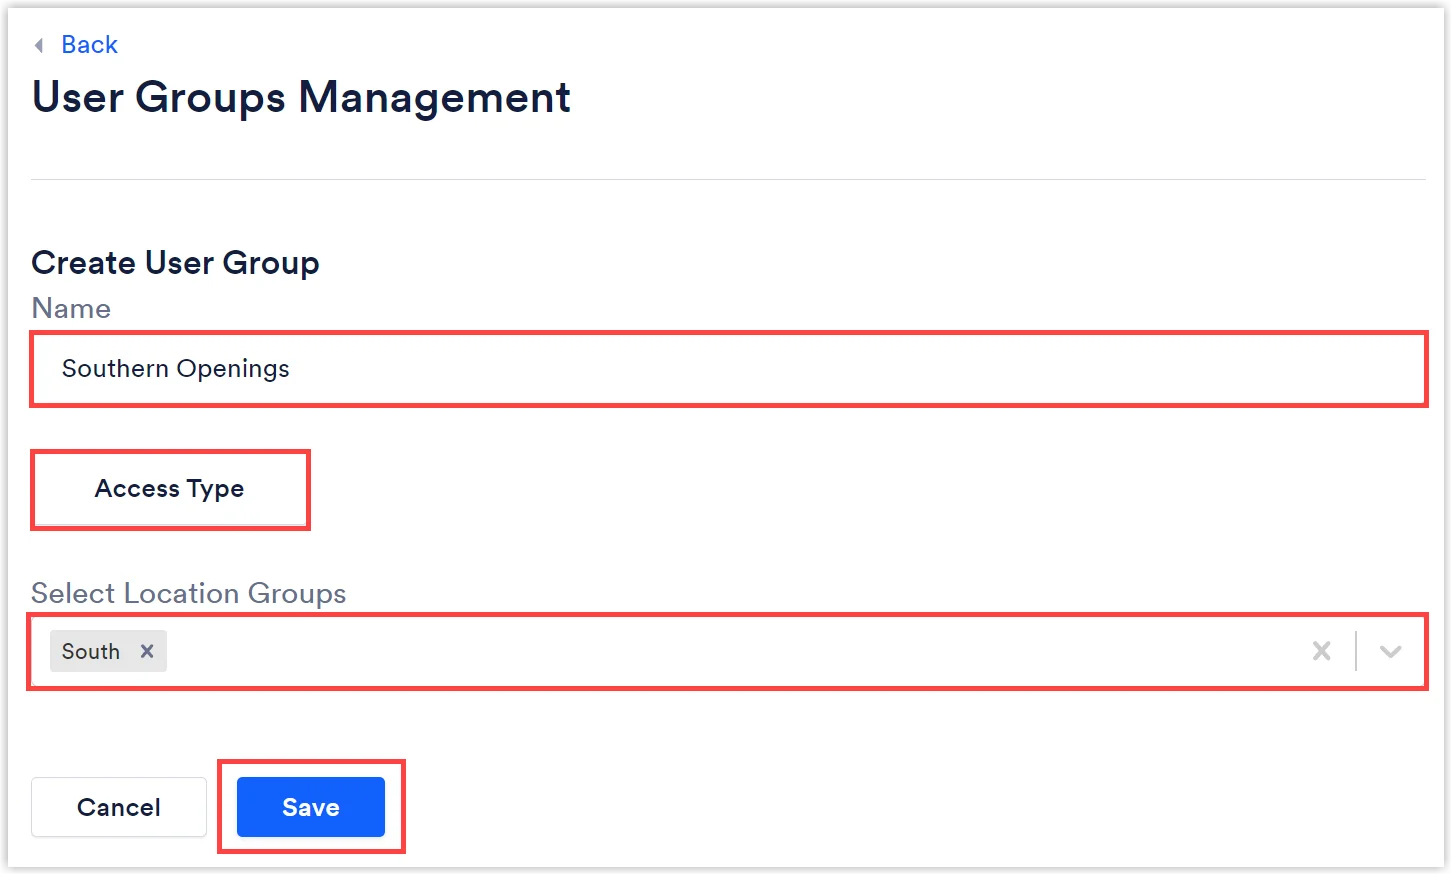
Type a name for the User Group.
-
Click Access Type and choose between either Location or Location Group. Learn more about Locations and Location Groups by reviewing this Help Center article.
-
Select the Location(s) or Location Group(s) in the dropdown.
-
Click Save.
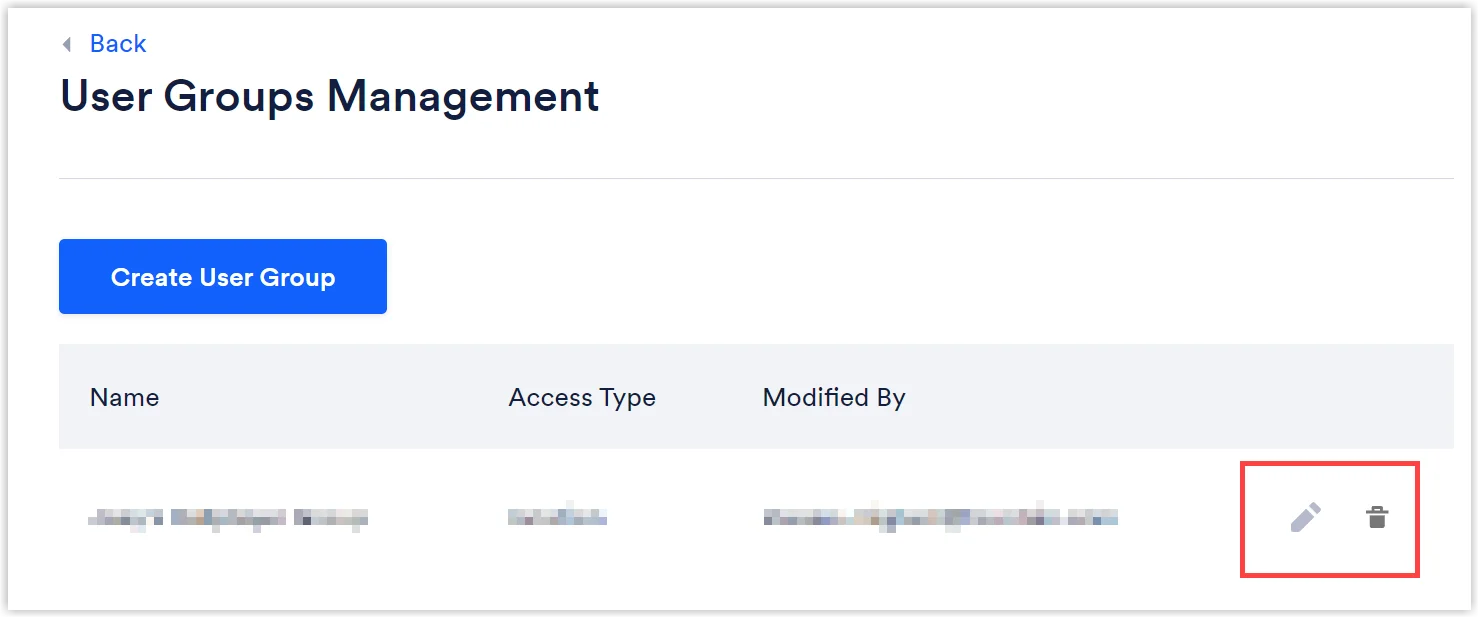
To edit an existing User Group, click the pencil icon to the right of the User Group’s name on the User Groups Management screen.
To delete an existing User Group, click the trashcan icon to the right of the User Group’s name on the User Groups Management screen.
Assign User Groups
Section titled “Assign User Groups”To assign a user to a User Group, follow the steps below:
- In the Company Settings page, under the General section in the left sidebar, click Users.
- Find the user in the list and click the Actions button to the left of their name. Then click Edit in the dropdown. Please note, the user must have already been invited and have set up their account before you can assign them to a User Group.
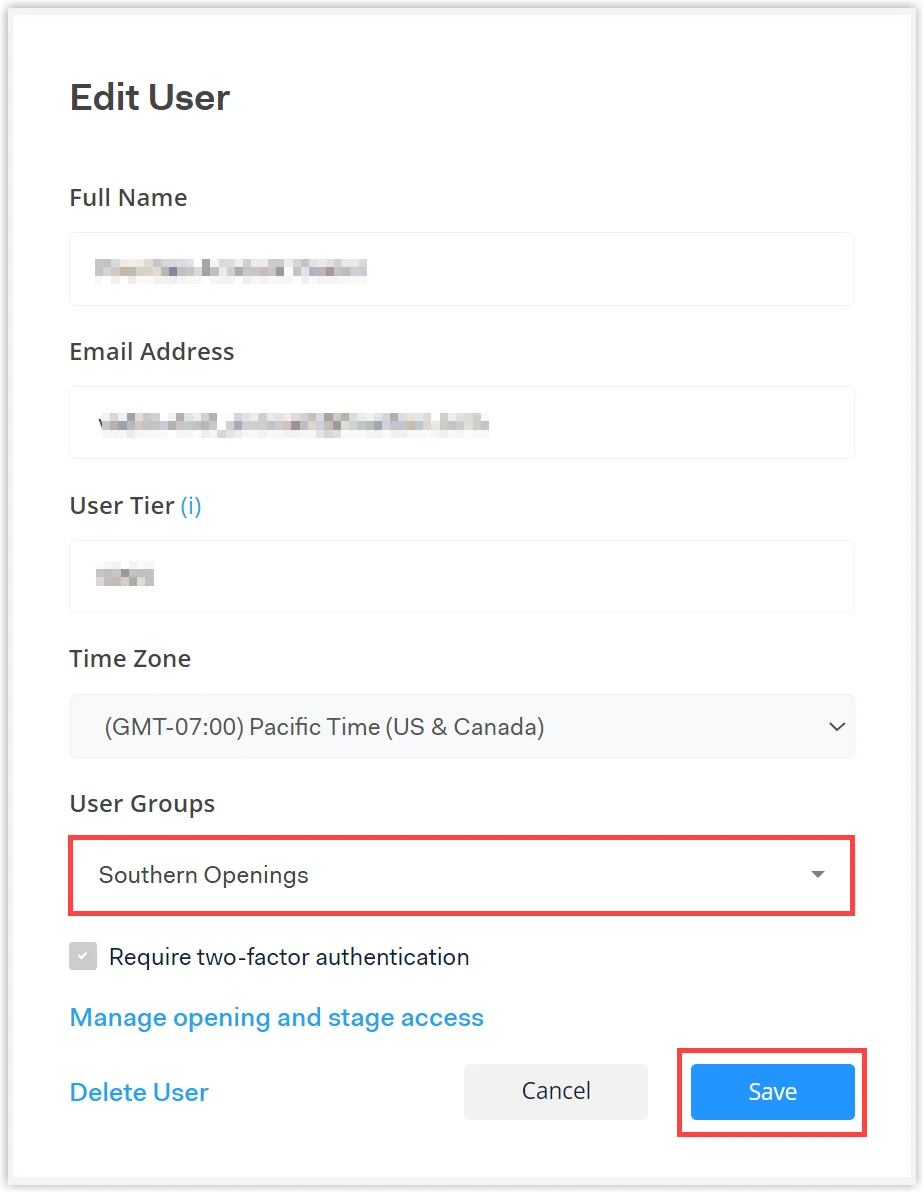
- Select the User Group in the User Groups dropdown list. Please note, only one User Group can be assigned to a user at one time.
- Click Save.