
Using Applicant Table and UAV Filters
Filters are a great way to sort through your applicants by their attributes and responses collected from the position form and/or the data collection form(s). You can also filter by job or stage.
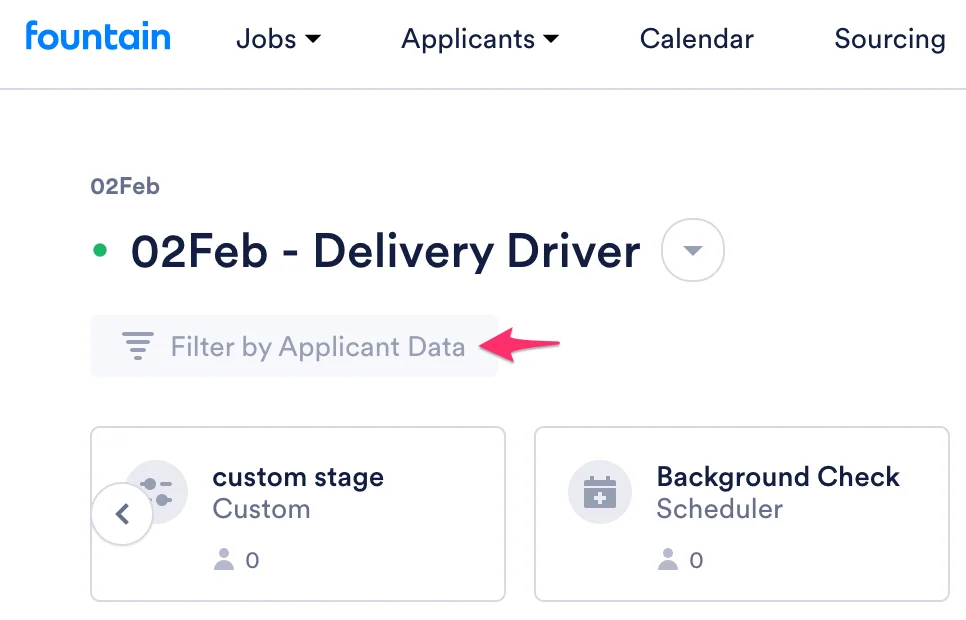
Filters can be used on both the Applicant Table and Universal Applicant View. Both screens will have a Filter by Applicant Data button. The Universal Applicant View will also have a Filter by Jobs/Stages button. The functionality of both filters works the same.
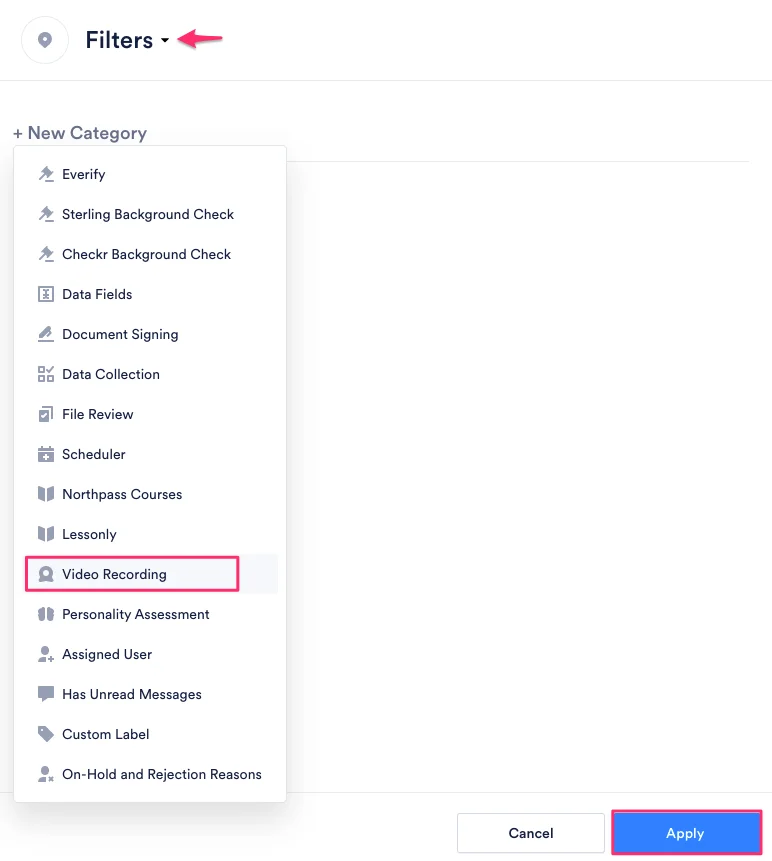
Filter by Applicant Data Category Options
Section titled “Filter by Applicant Data Category Options”| Category | Filters by: |
|---|---|
| Phone Platform | Filters by applicant phone type - either SMS or WhatsApp. |
| Background Check | Status of a background check package. |
| Data Fields | Data on the applicant: answers to questions, Applied Date (date in which applicant applied to your job), Idle Since (dates in which applicant has not performed any action on the application, Is Duplicate (flagged as a duplicate applicant). |
| Data Collection | Filters by applicant’s progress on certain Data Collection stages. |
| File Review | Status of each file’s review status. Approved - been reviewed and approved by a user. Pending Review - waiting for user to review. Recollecting - pending recollection by the applicant |
| Scheduler | Status on scheduling for a session from a Scheduler Stage. |
| Northpass / Lessonly | Status of each course. |
| Video Recording | Status of the video recording from a Video Recording stage. |
| Assigned User | User who assigned to the applicant. |
| Custom Labels | Status: complete (checked) vs incomplete (unchecked). |
| Has Unread Message | Unread SMS or WhatsApp messages from the applicant. |
| On-Hold and Rejection Reasons | Filters for the reason the applicant was placed On Hold or Rejected. |
| I-9 | Filters by a range of applicant I-9 form expiration dates. |
Adding a New Filter
Section titled “Adding a New Filter”To add a new filter, follow the steps below:
-
Navigate to the Applicant Table or Universal Applicant View.
-
Click on the filter button.
-
Click New Category and choose the type of filter you’d like to create.
-
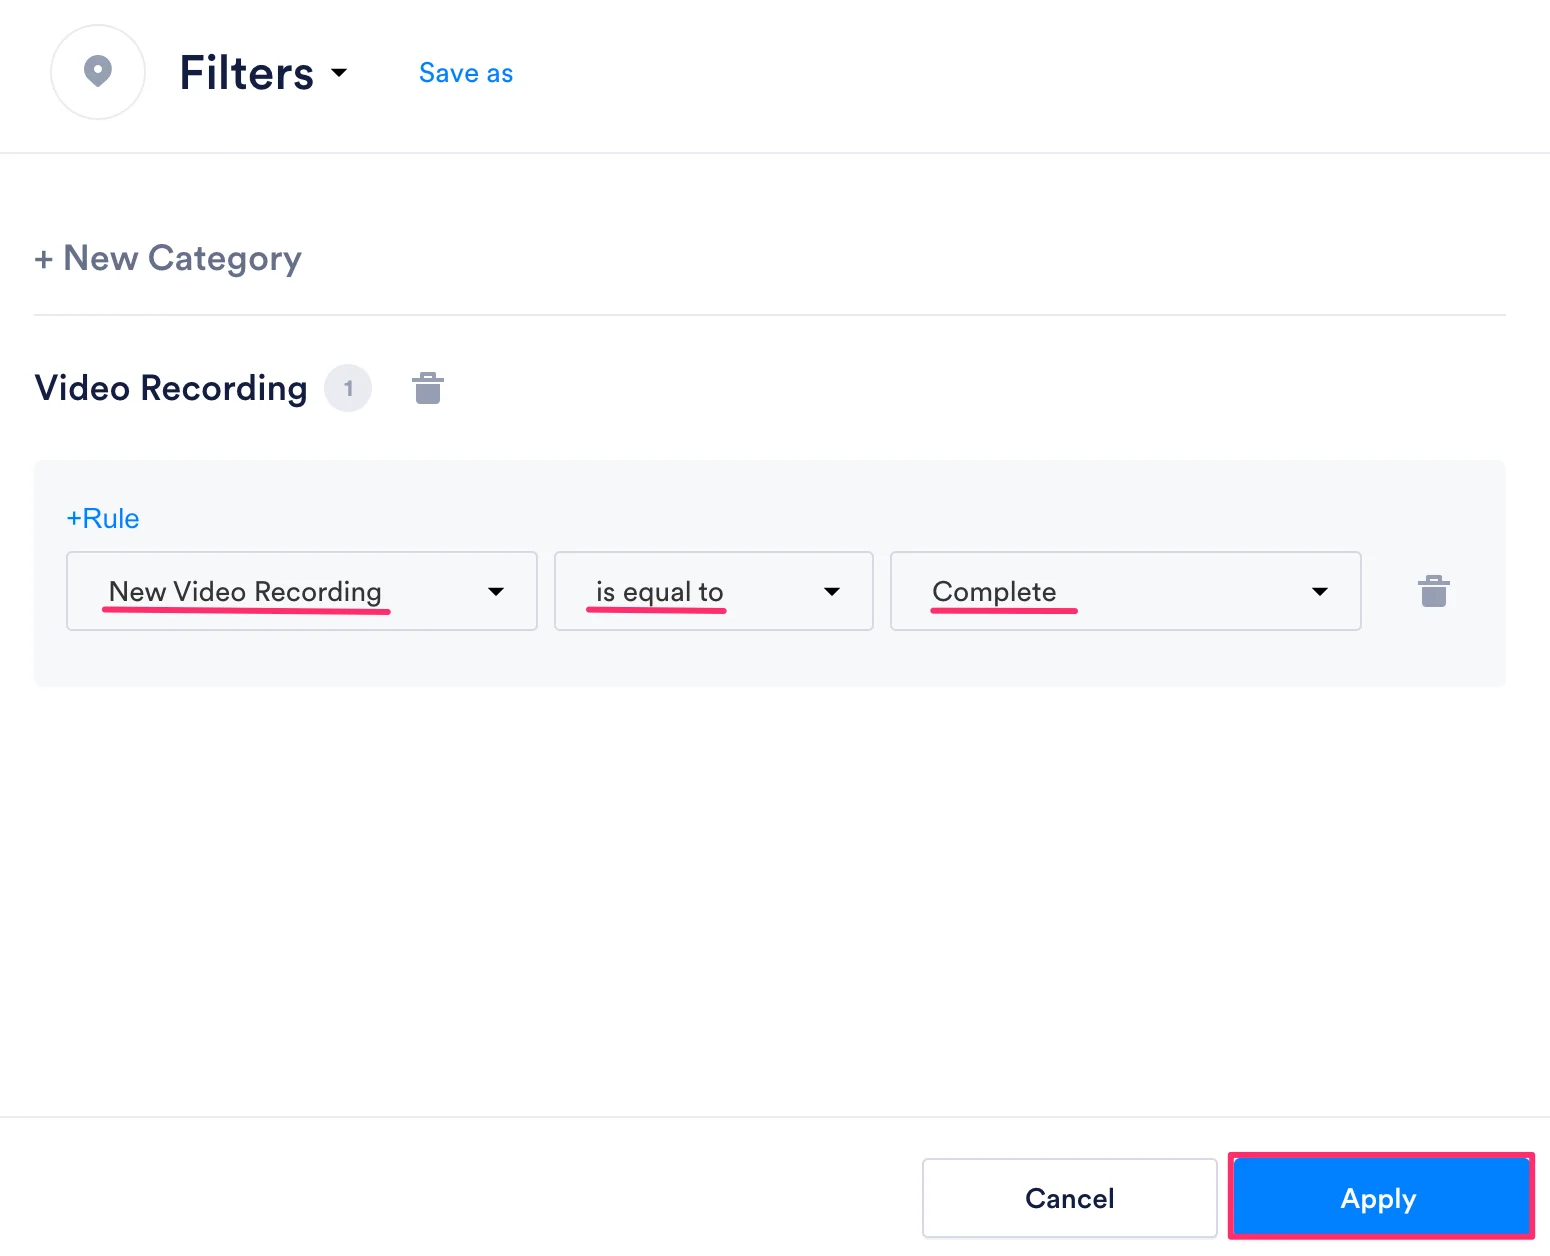
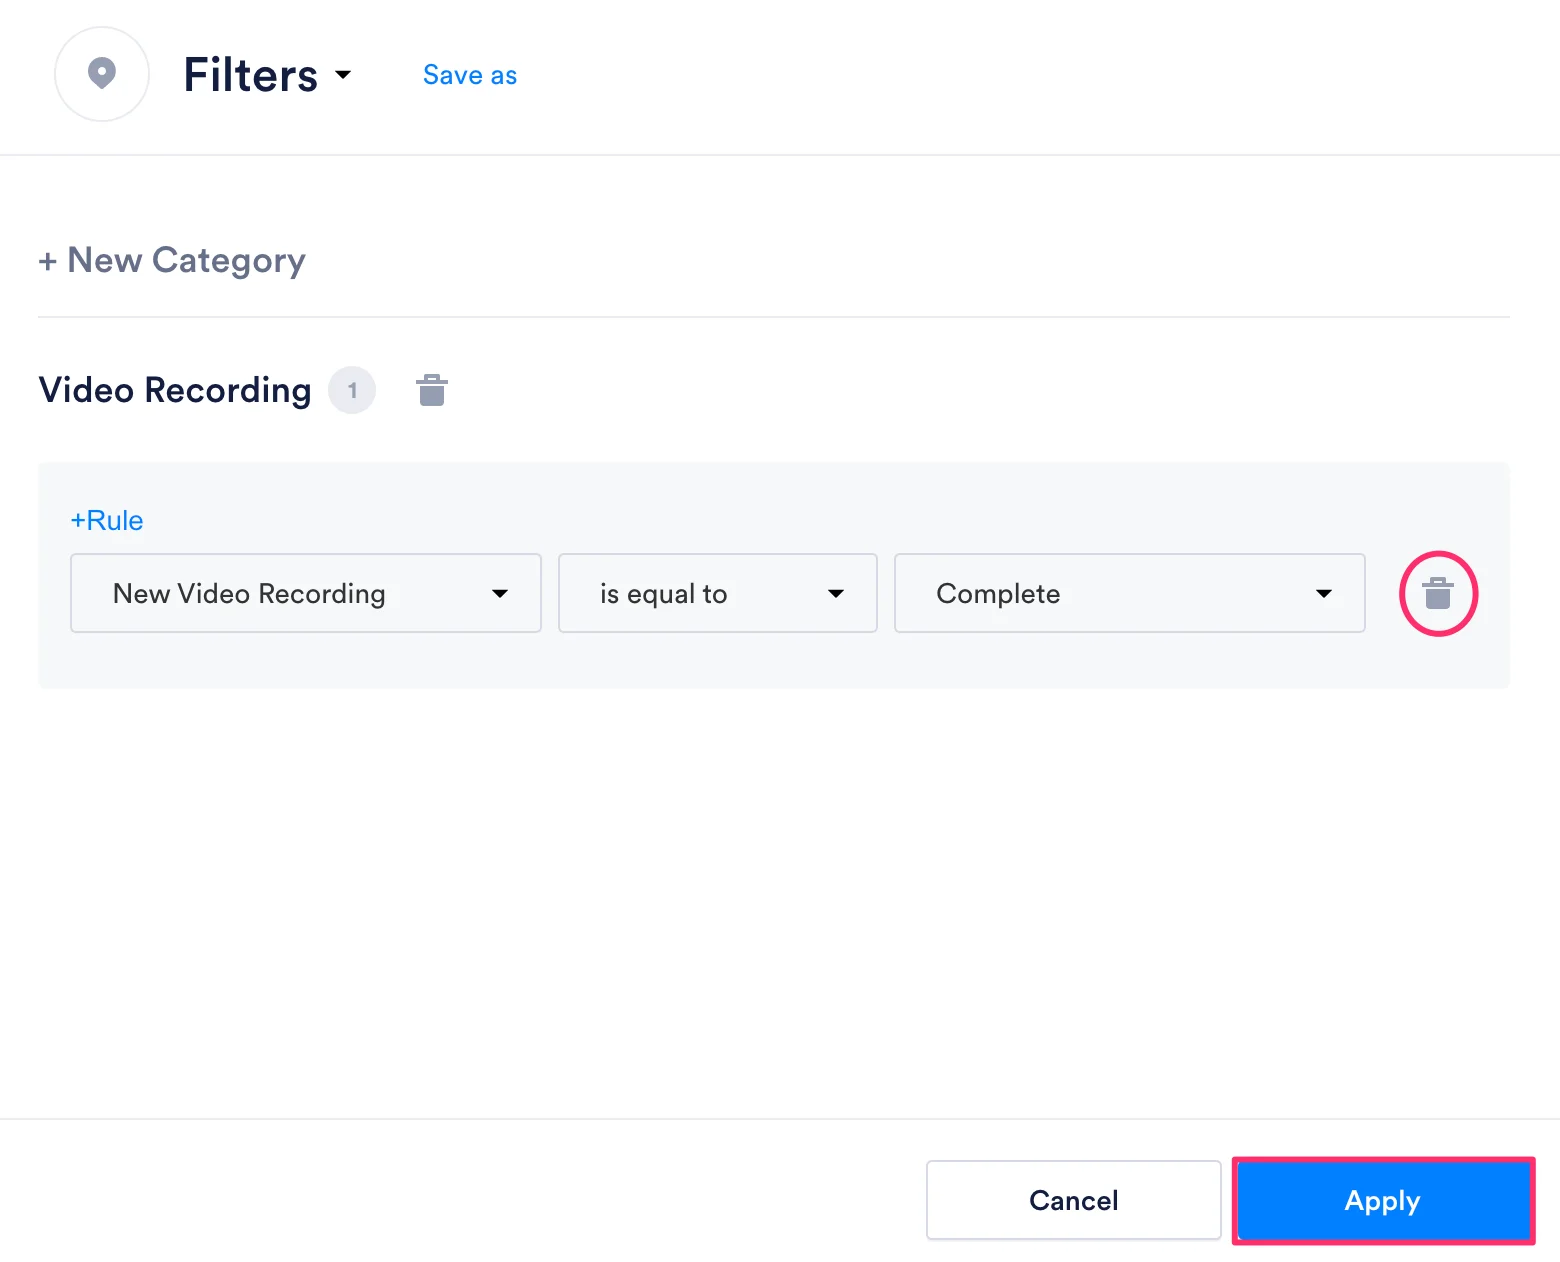
Click Add (+) Rule then choose the conditions you want to set for this filter from the dropdown menus.
-
Click Apply.
-
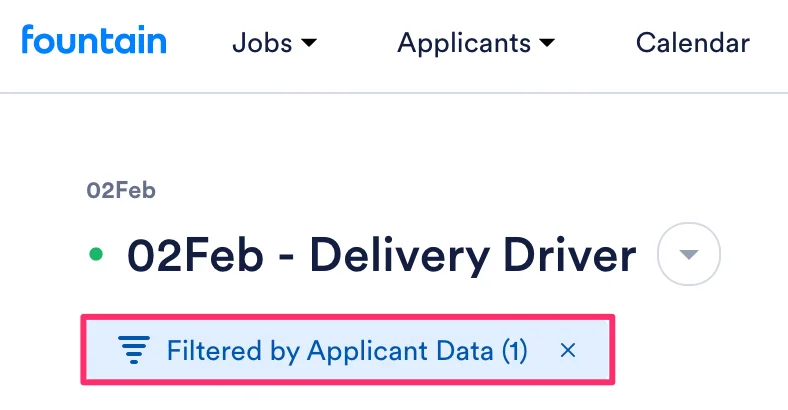
The number of filters applied will be visible on the filter button.
Edit/Delete/Clear a Filter
Section titled “Edit/Delete/Clear a Filter”To edit, delete, or clear a filter, follow the steps below:
-
Click the X on the filter button to remove all applied filters or click the filter button to open the filter screen.
-
To remove one filter if you have multiple filters applied, click the trash can icon located on the right side of the filter you want to remove.
-
Click Apply.
Saving Filters for Future Use
Section titled “Saving Filters for Future Use”If you want to save a filter to use again in the future, follow the steps below:
-
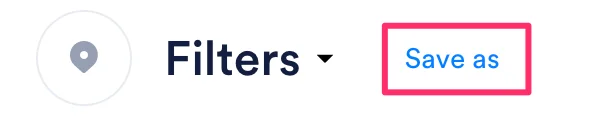
In the filters screen, click Save as in the top right corner.
-
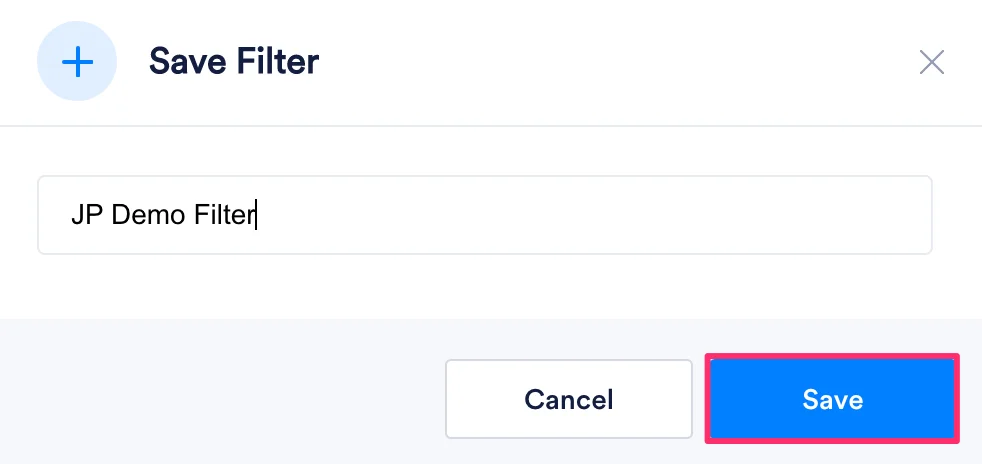
Type a name for the filter and click Save.
-
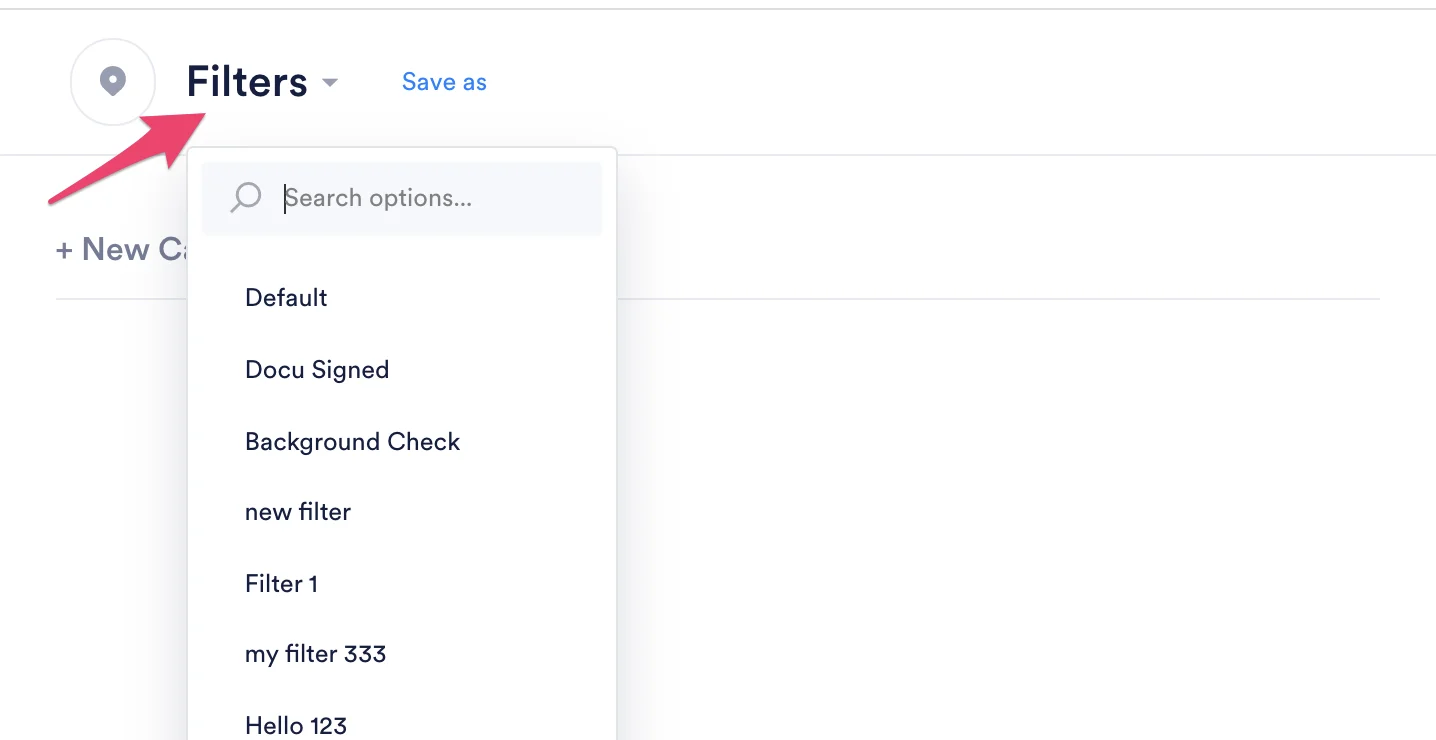
To access the filter in the future, click the Filters title and search or scroll.
-
Click Apply to apply the saved filter.