Calendar 2.0 - Managing Host Availablity
Rekrutek’s enhanced Appointment Scheduling stage allows you to set up availability to interact with applicants, whether that’s for an interview, orientation, start date, or even to pick up equipment. If you are identified as a host, you will be responsible for setting up your availability within the Schedule tab of Rekrutek to host these types of events. Your availability tells Rekrutek when applicants can and cannot book time on your calendar.
Set Availablity
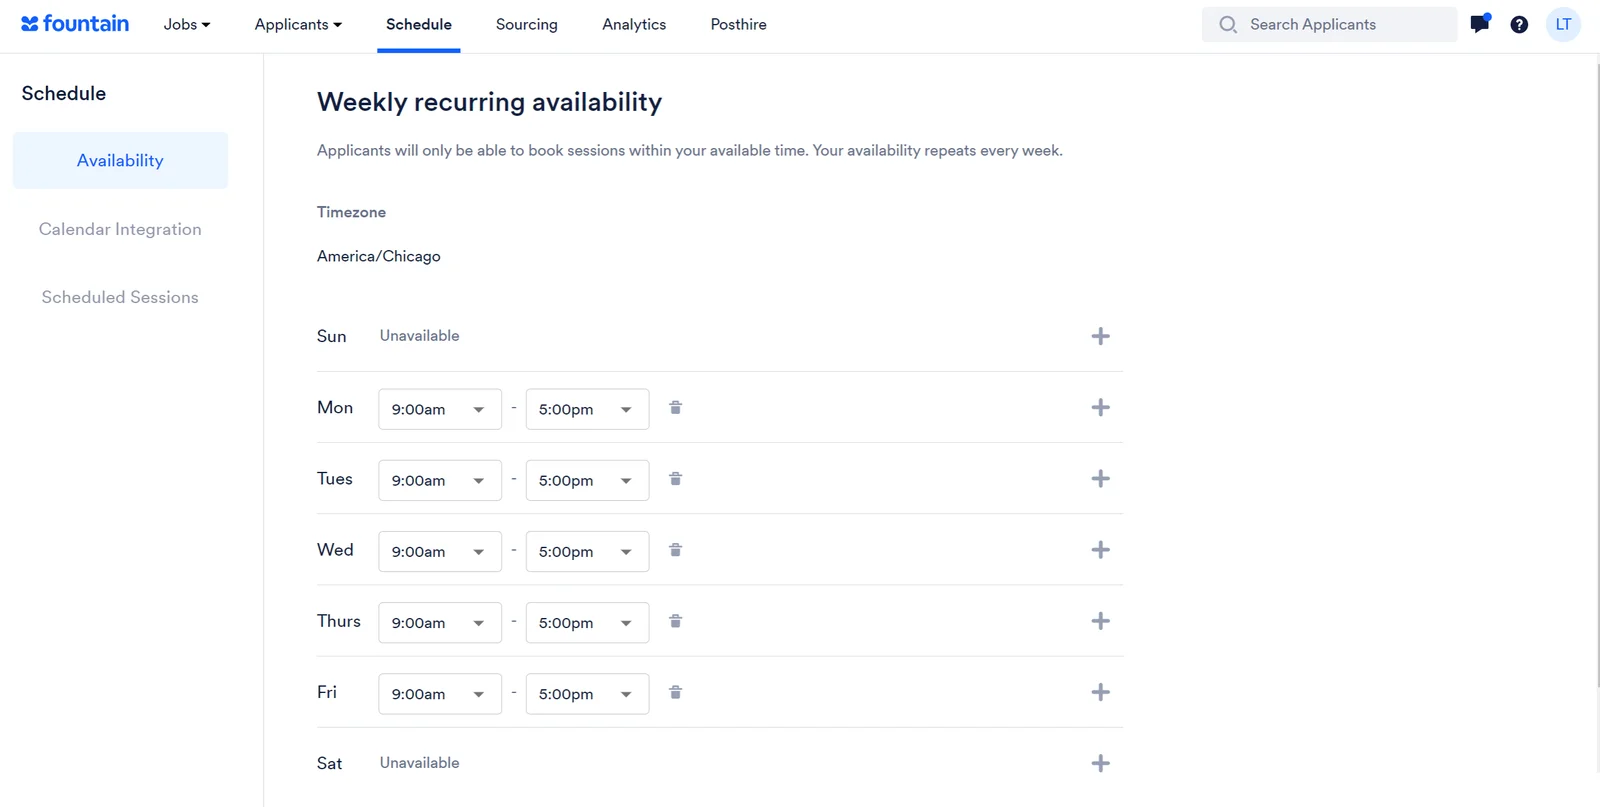
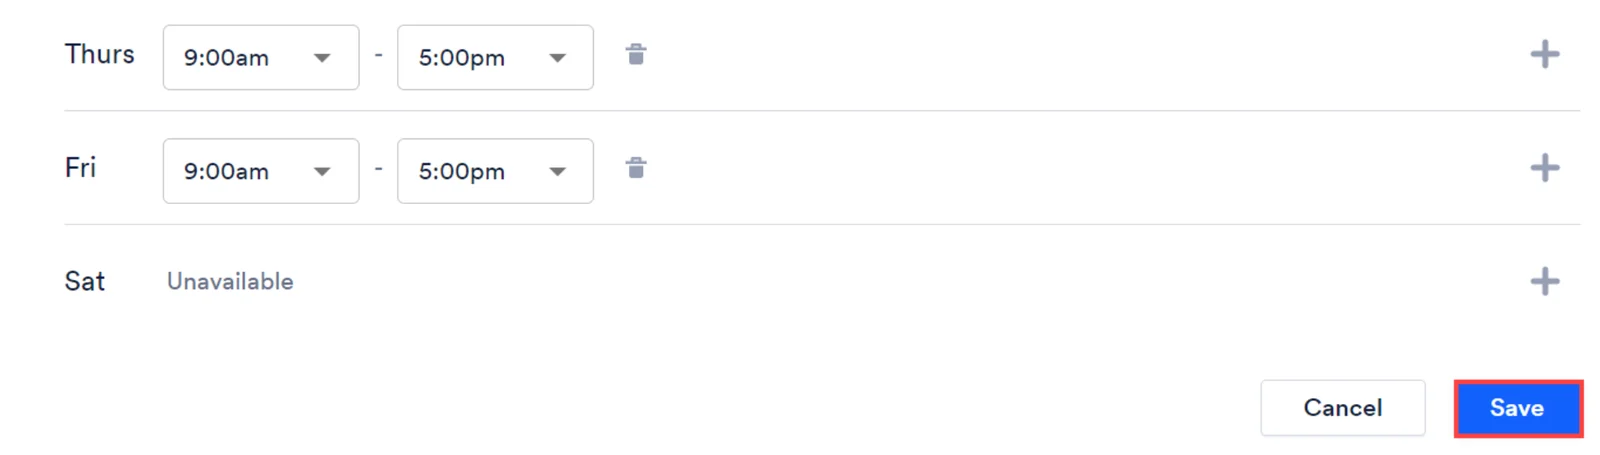
Section titled “Set Availablity”To set your availability, click Schedule at the top of any Rekrutek page then review and update your Weekly recurring availability. By default, all users are available 9 am-5 pm Monday through Friday based on their timezone.

-
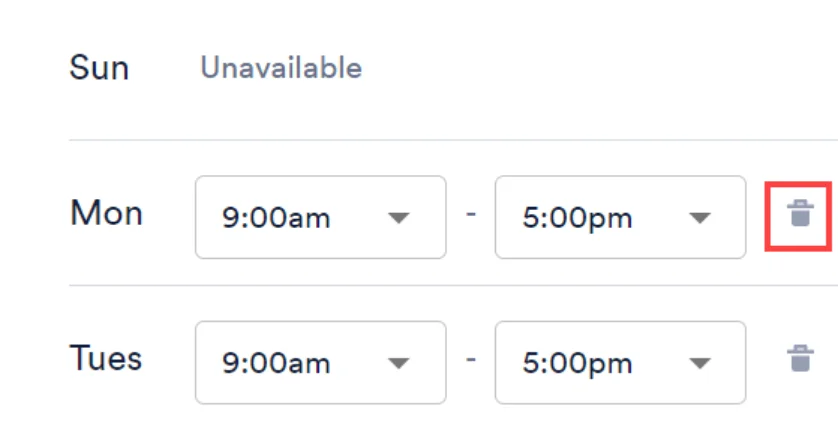
To remove a day that you are always unavailable, click the trashcan icon next to the day. For example, if you remove Monday, applicants will never be able to book a time slot with you on Mondays.
-
To add a break in between availability, click the plus icon within the day you want to add a break. This will allow you to add a gap between your availability for something like a lunch hour.

-
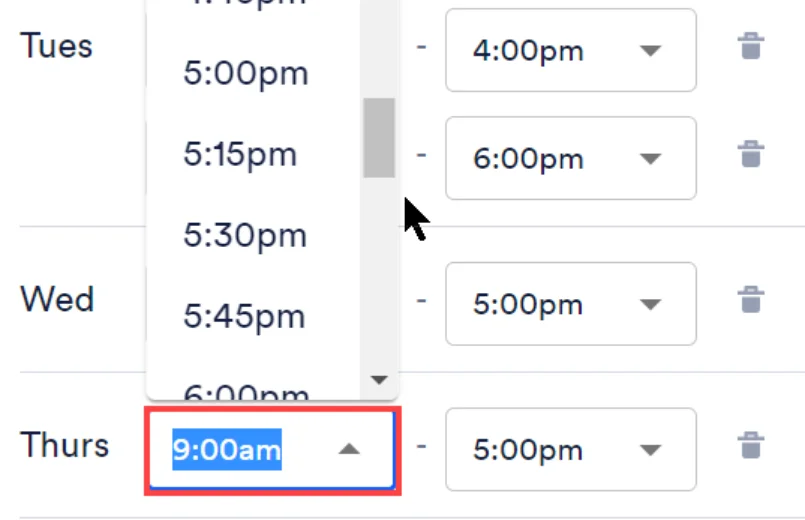
To modify the time block you are available, click on the dropdown box with the time you want to adjust. For example, if in the morning you only host events between 10am to 11:30am, you will click those boxes and change to those timeframes.
-
When you are done modifying your availability click Save.
Connecting Your External Calendar
Section titled “Connecting Your External Calendar”Connecting your external calendar is the best way to prevent scheduling conflicts. When connected to an external calendar, applicants will not be able to book time with you that conflicts with your existing calendar events. This includes all-day events in which you are unavailable for the entire day.
- Click Schedule at the top of any Rekrutek page.
- Click Connect Calendar on the right or click the Calendar Integration tab on the left.
- Choose the email service for your external email.
- Select your email if you have signed into the email on the device you are currently using OR log in to your email.
- Agree to the Cronofy Terms of Service and Privacy Policy.
- Click Link (email) Account. When you create slots in the Schedule screen and an applicant books a slot during the application, a calendar event is automatically created between you (if you were assigned to the session) and the applicant which can be seen on your external calendar.
To disconnect your external email, click the Calendar Integration tab on the left then click edit and the the red x next to your name.
If your external calendar event is saved as “Free
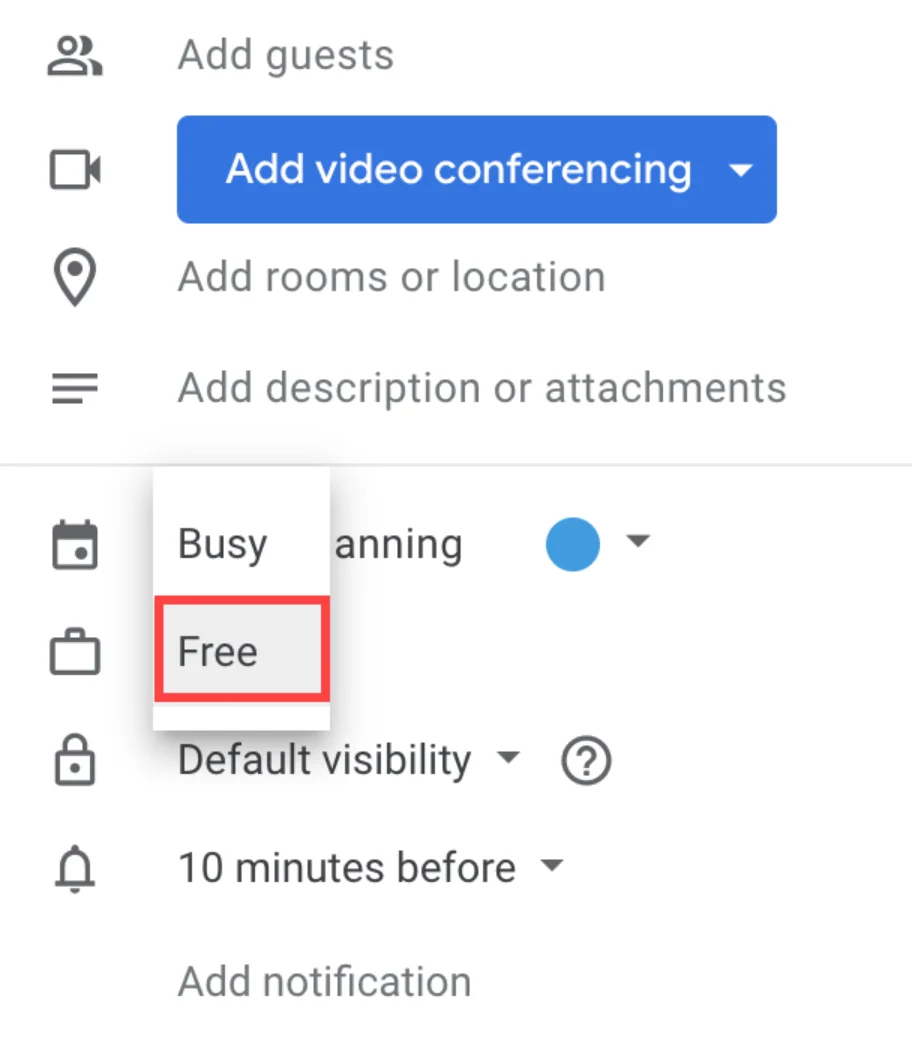
“ Rekrutek will ignore the event and applicants will be able to book a slot during that time.
Session Notifications
Section titled “Session Notifications”You can get notified whenever a session is booked or canceled. To toggle notification settings, follow the steps below.
- Select My Profile located in the dropdown menu underneath the name associated with your account.
- Scroll to Notification Settings, where there are checkboxes that you can toggle to enable or disable a notification. You can get notified if a session is declined, booked, or booked within an hour before the start time.
- Click Update Settings, and you’re done!
Scheduled Sessions
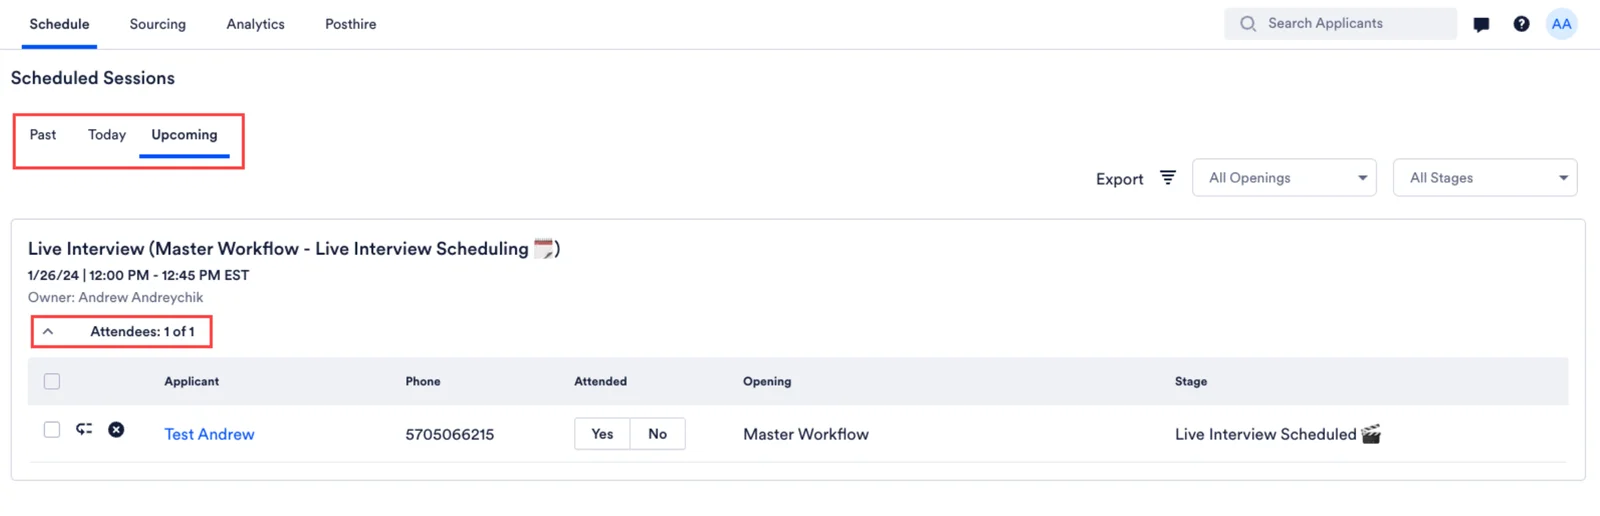
Section titled “Scheduled Sessions”To view more details about your scheduled sessions with applicants, click on the Scheduled Sessions tab on the left.
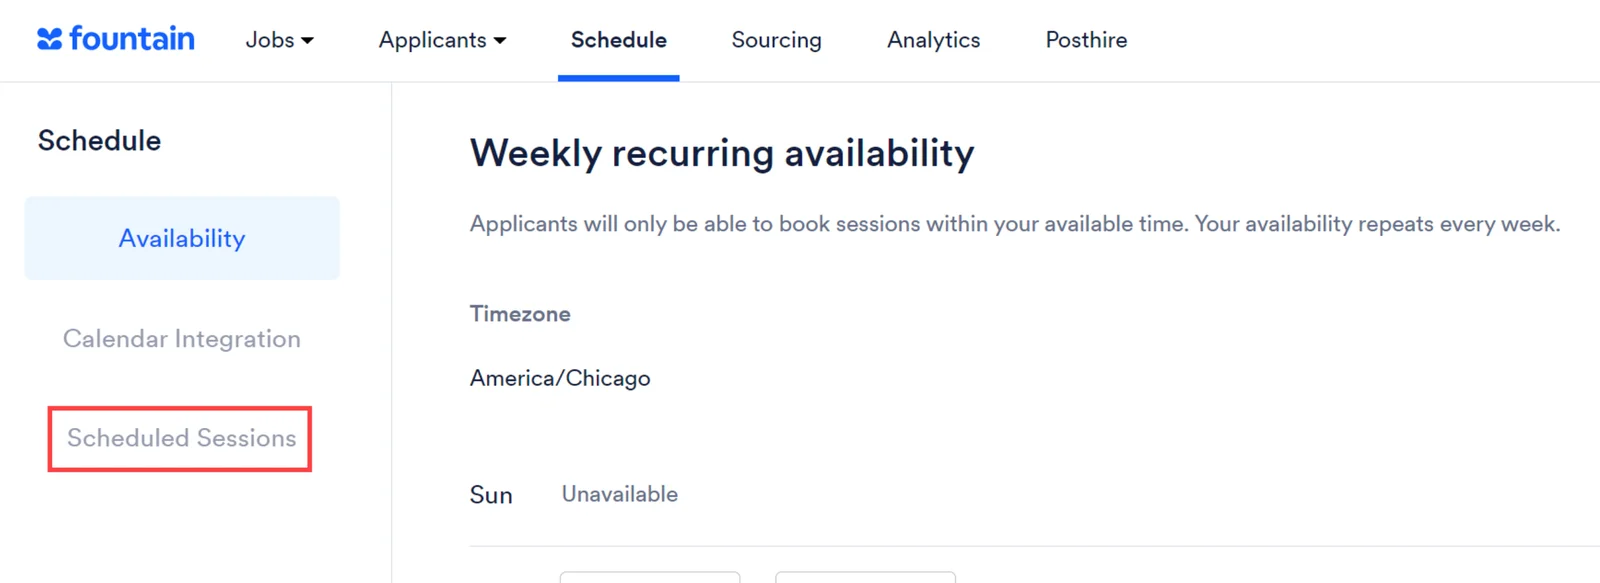
This will open a page where you can view details of all your scheduled sessions; past, today, and upcoming. Click the Attendees section to expand and see all registered attendees.
- Click on the candidate’s name to view the candidate’s information, history and files, and take notes.
- Click the Yes or No boxes to mark attendance. Selecting No triggers an automated reschedule message and allows them to select a new time slot.
- Click the Arrow or X buttons, to move a candidate forward or reject them.