
Set Up User Access
In addition to supporting your workers, Rekrutek makes it easy to manage the rest of your team. Invite your coworkers to the platform to help build out and manage workers, onboarding flows, compliance requirements, and more.
Invite Users
Section titled “Invite Users”To begin managing your team, navigate to the Settings page by clicking your company logo in the bottom left corner and then Users.
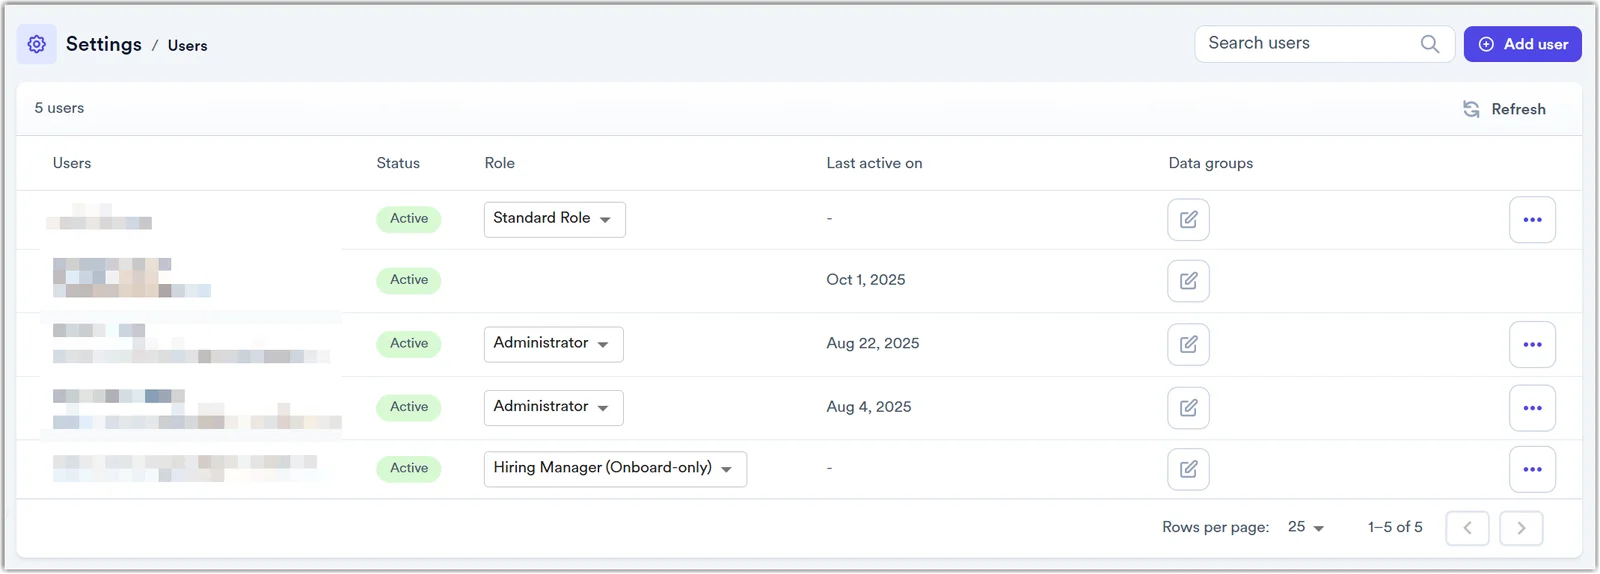
This page is where you can view and manage your team members, including inviting new users. To do so:
- Click the +Add User button in the top right corner
- In the pop-up that appears, enter the email address of the coworker you want to invite and select their user role. Note: A role type will be preselected in the dropdown. This is the identified default role in the User Roles & Permissions settings page. Although this is selected by default, it can be changed.
- Click on the Invite button to send them an email with a link to sign up.
Managing Team Members
Section titled “Managing Team Members”Once you have invited coworkers to join your team, you can manage them effectively using the User page. Here are some key features that Rekrutek offers for managing team members:
-
View team member details: On the User page, you can quickly see key information about each team member, such as their role and when they were last active in Rekrutek.
-
Remove team members: If a team member no longer needs access to Rekrutek, you can remove them from your team. On the User page, locate the team member you wish to remove, click the More Options button (three dots), and click on the “Remove” button next to their name.
Other actions you can take on users:
- Manage Locations allows you to adjust what locations they have access to in Rekrutek based on their role type. Some roles will be non-location restricted, which means that if you set a location, it will have no impact. Learn more about platform roles and permissions in this article.
- Manage Security Groups used by the Rekrutek team if your company is also using Rekrutek Hire to ensure the user has access to the right information in both systems. If you have questions on updating a user’s Security Groups, please reach out to your Rekrutek Customer Success contact or support@rekrutek.ai.
- If a colleague has not yet accepted their email invitation, you can click resend invitation to send the email out again
- If a colleague is locked out of their account, you can send a password reset email.
By following these steps and utilizing the features provided by Rekrutek, you and your team can work together to seamlessly support your workforce.
Accepting an Invitation to Rekrutek
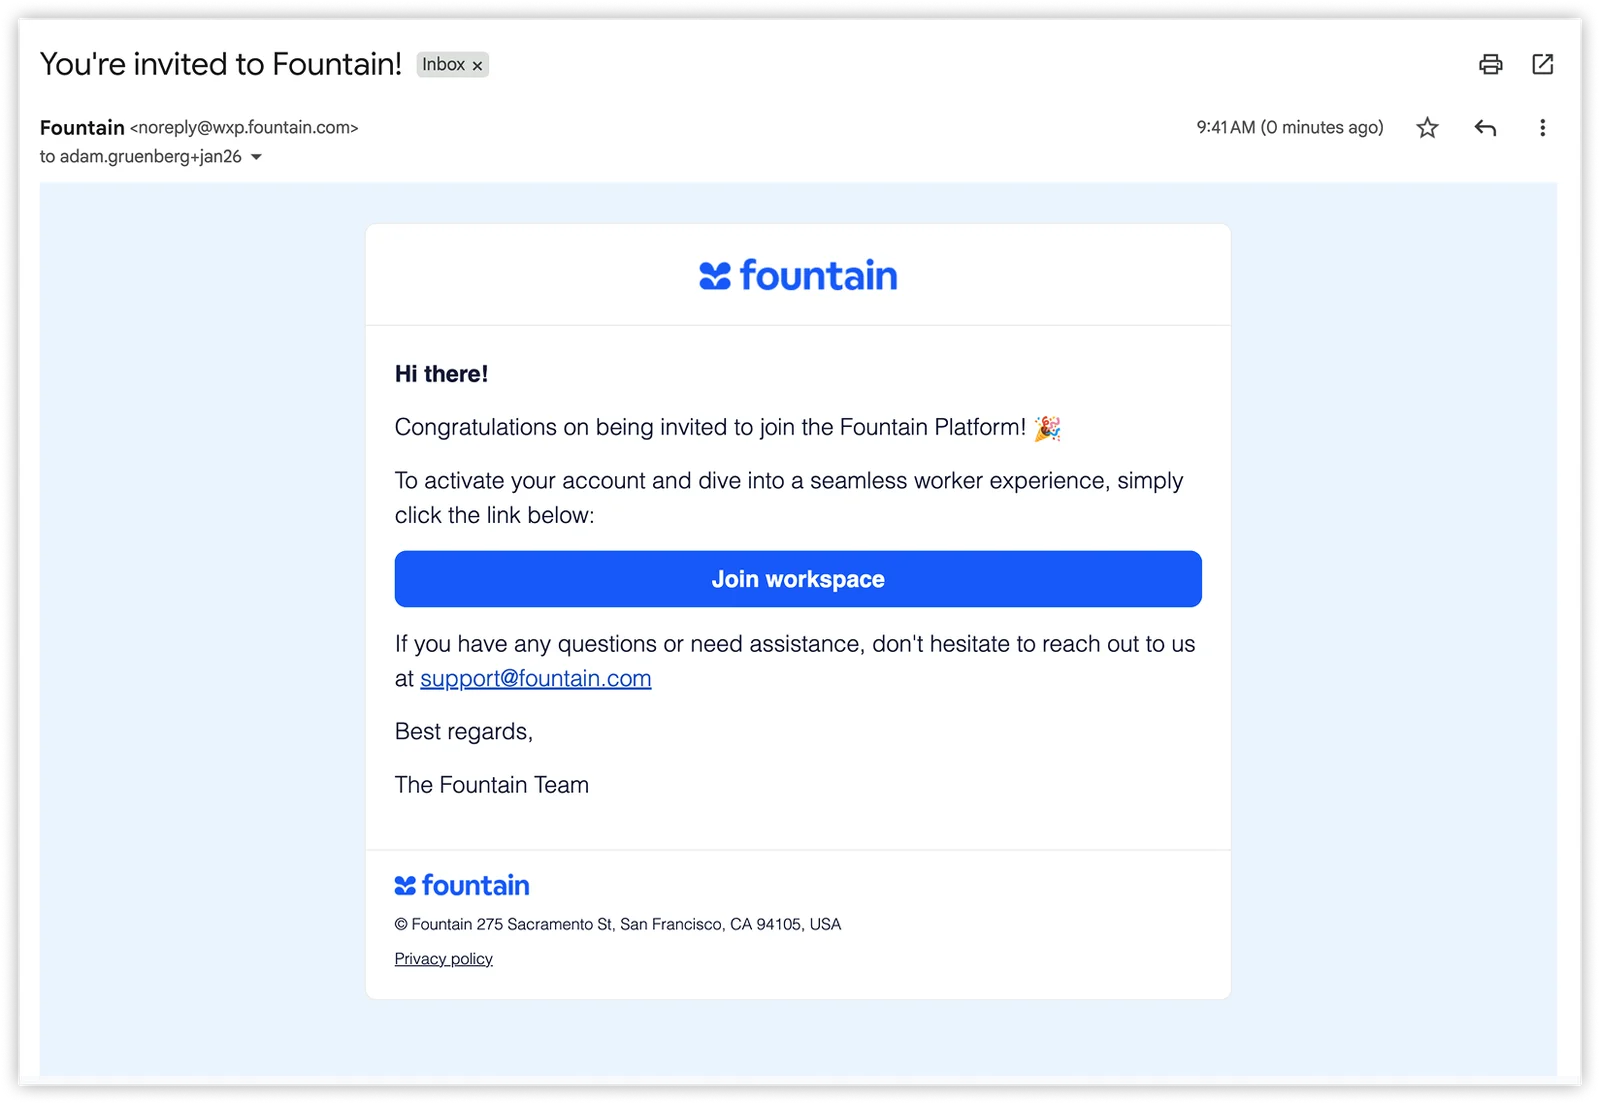
Section titled “Accepting an Invitation to Rekrutek”When a user is added to a Rekrutek account, they receive an email invitation to set up their profile and access the platform.
-
Locate the Invitation Email: The user should look for an email with the subject line “You’ve been invited to join [Company Name] on Rekrutek.“
-
Access Rekrutek: Click the Join workspace button in your invitation email. This will open the registration page in your web browser.
-
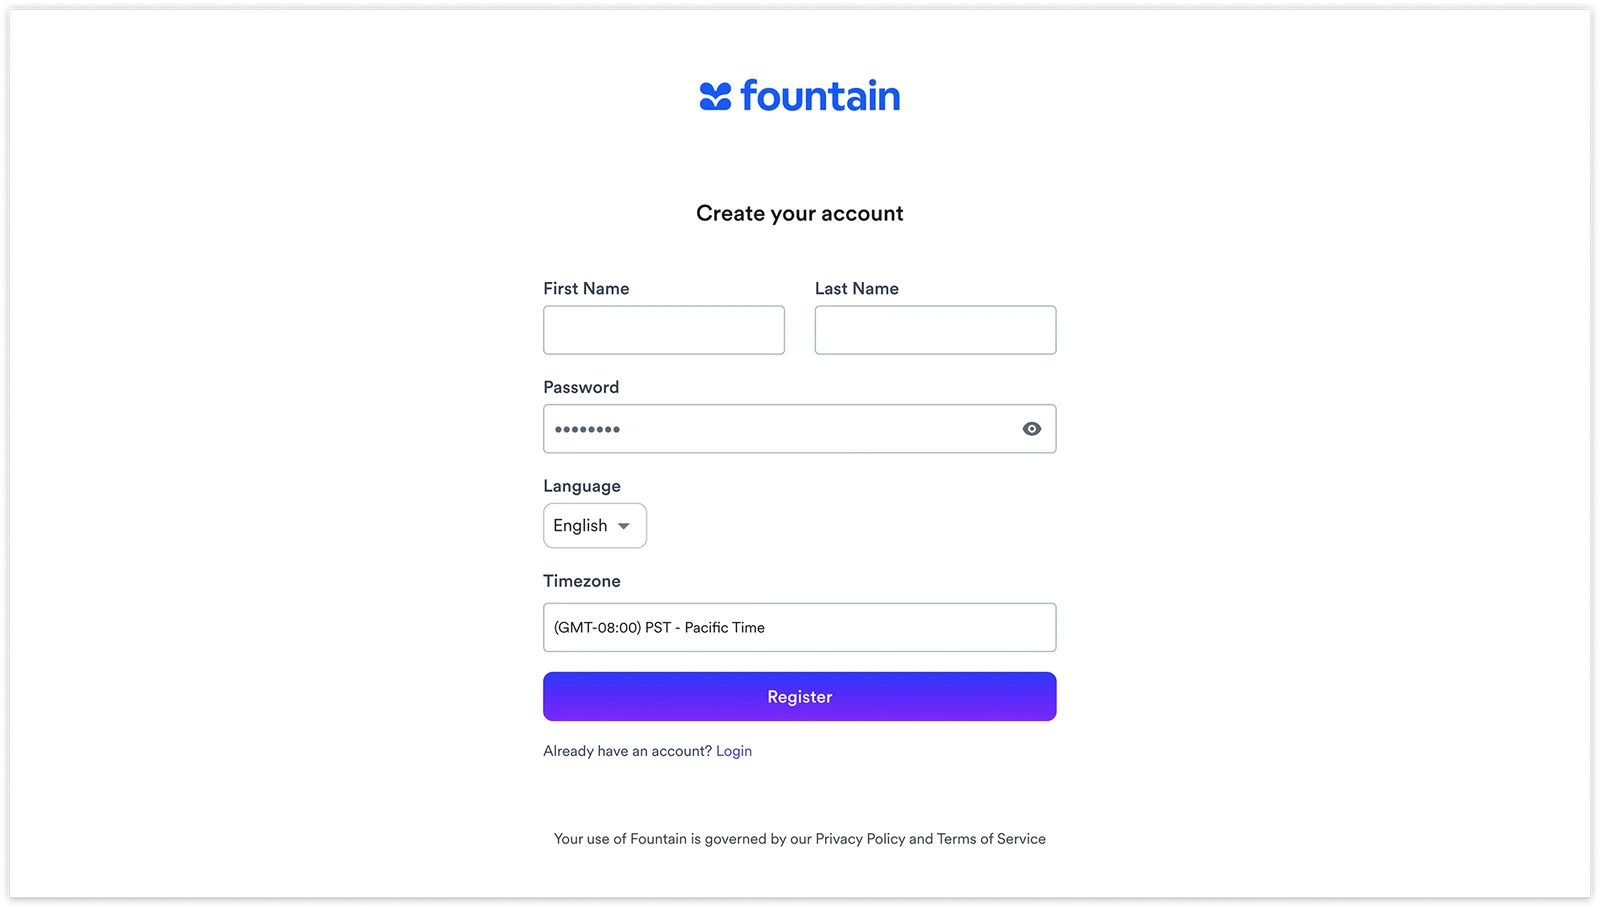
Register: On the registration page:
-
Input the required fields:
-
First Name: Enter your first name
-
Last Name: Enter your last name
-
Password: Create a secure password for your account
-
Language: Select your preferred language from the dropdown menu (English is selected by default)
-
Timezone: Choose your timezone from the dropdown menu
-
-
Click the Register button to create your account.
-
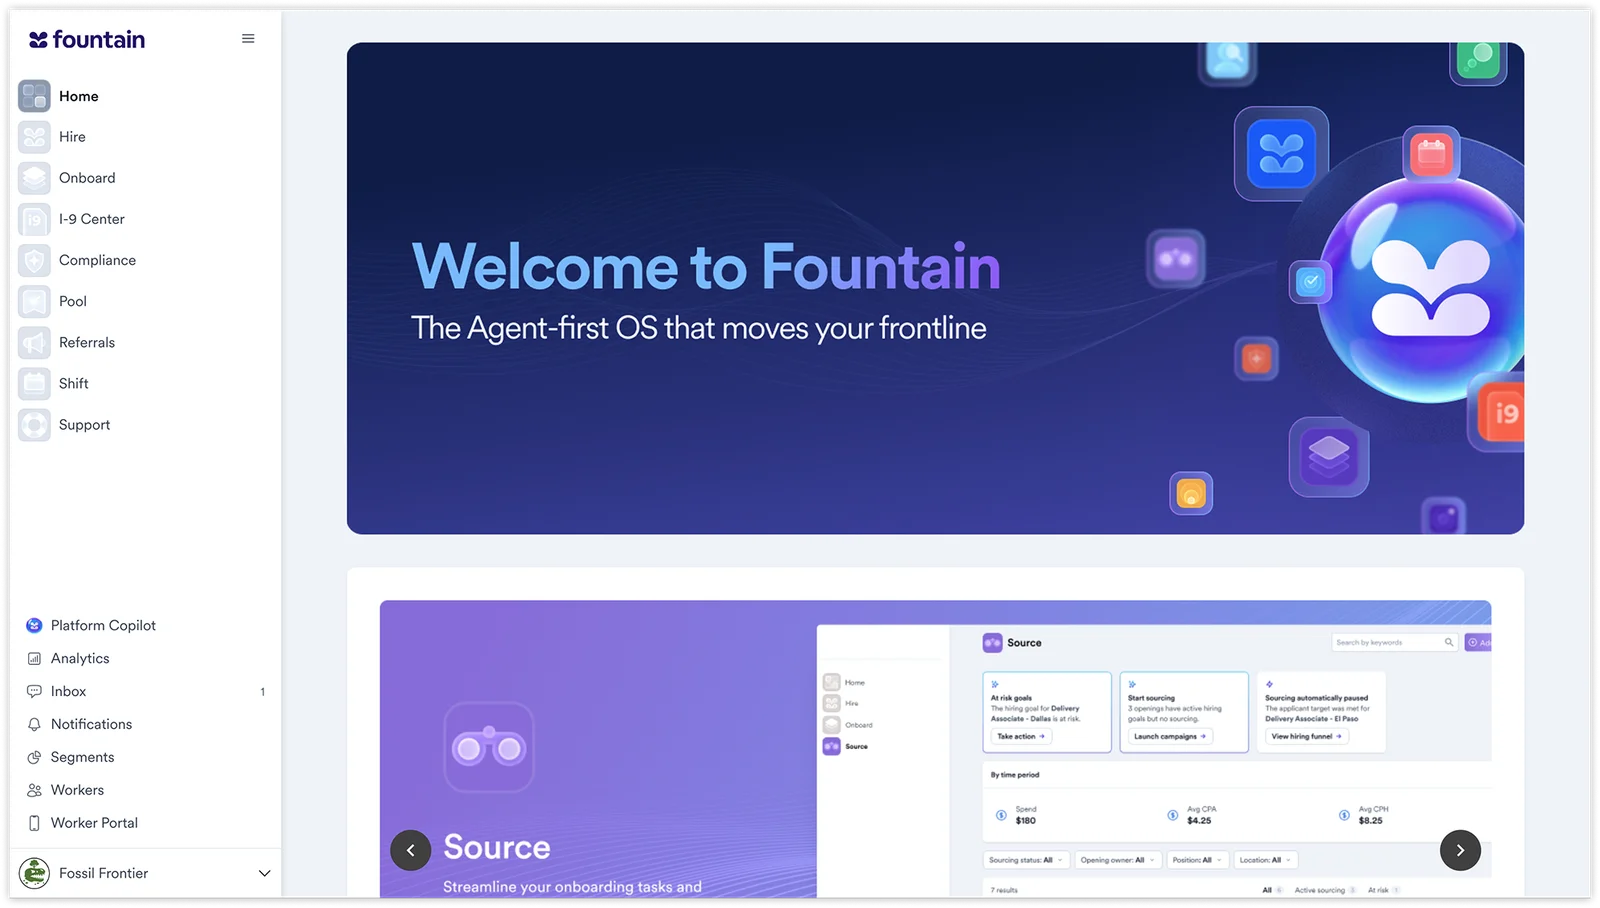
After completing registration, you’ll be taken to your Rekrutek welcome page. From here, you can navigate to different areas of the platform using the left sidebar menu.
Session Timeout Rules
Section titled “Session Timeout Rules”Rekrutek Platform:
- 48-hour fixed timeout – Your session expires 48 hours after login, regardless of activity.
Rekrutek Hire:
- 48-hour inactivity timeout – Your session expires after 48 hours without activity. Any action (page load, button click, etc.) resets the timer.
Rekrutek Hire Go:
- 48-hour maximum session lifetime – Sessions automatically expire after 48 hours from login, regardless of activity.