
Universal Applicant View (UAV)
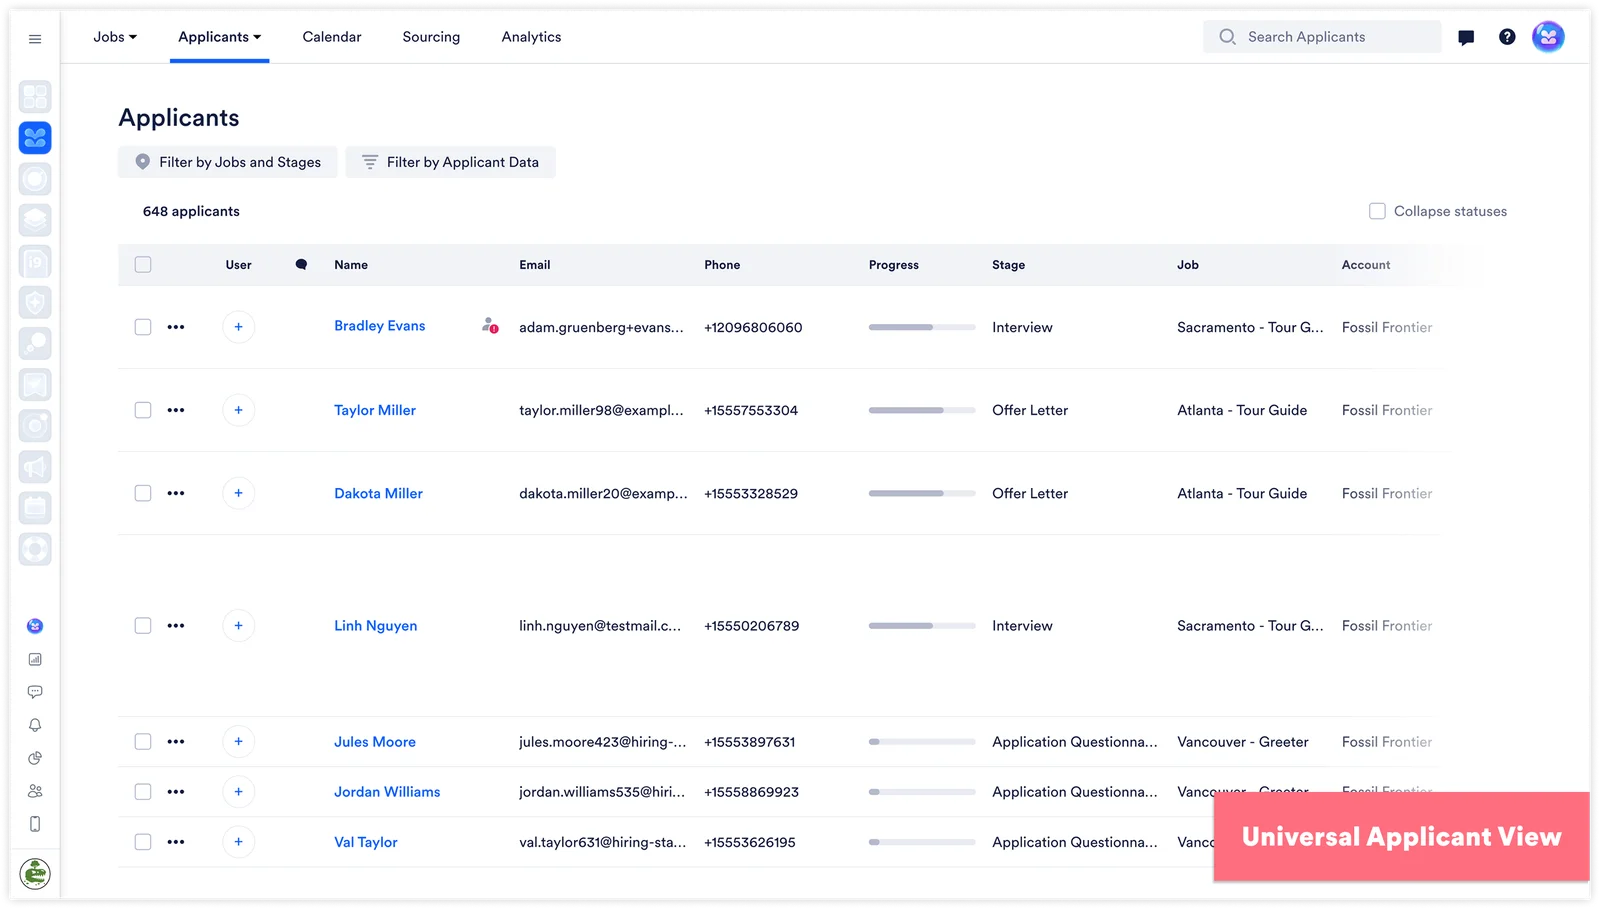
The Universal Applicant View (UAV) gives you a single view of every applicant across all Openings and stages. Unlike the Applicant Table, which shows applicants within a specific Opening, the UAV lets you see and manage your entire applicant pool at once.
Watch the following video for an overview of the Universal Applicant View:
Access the Universal Applicant View
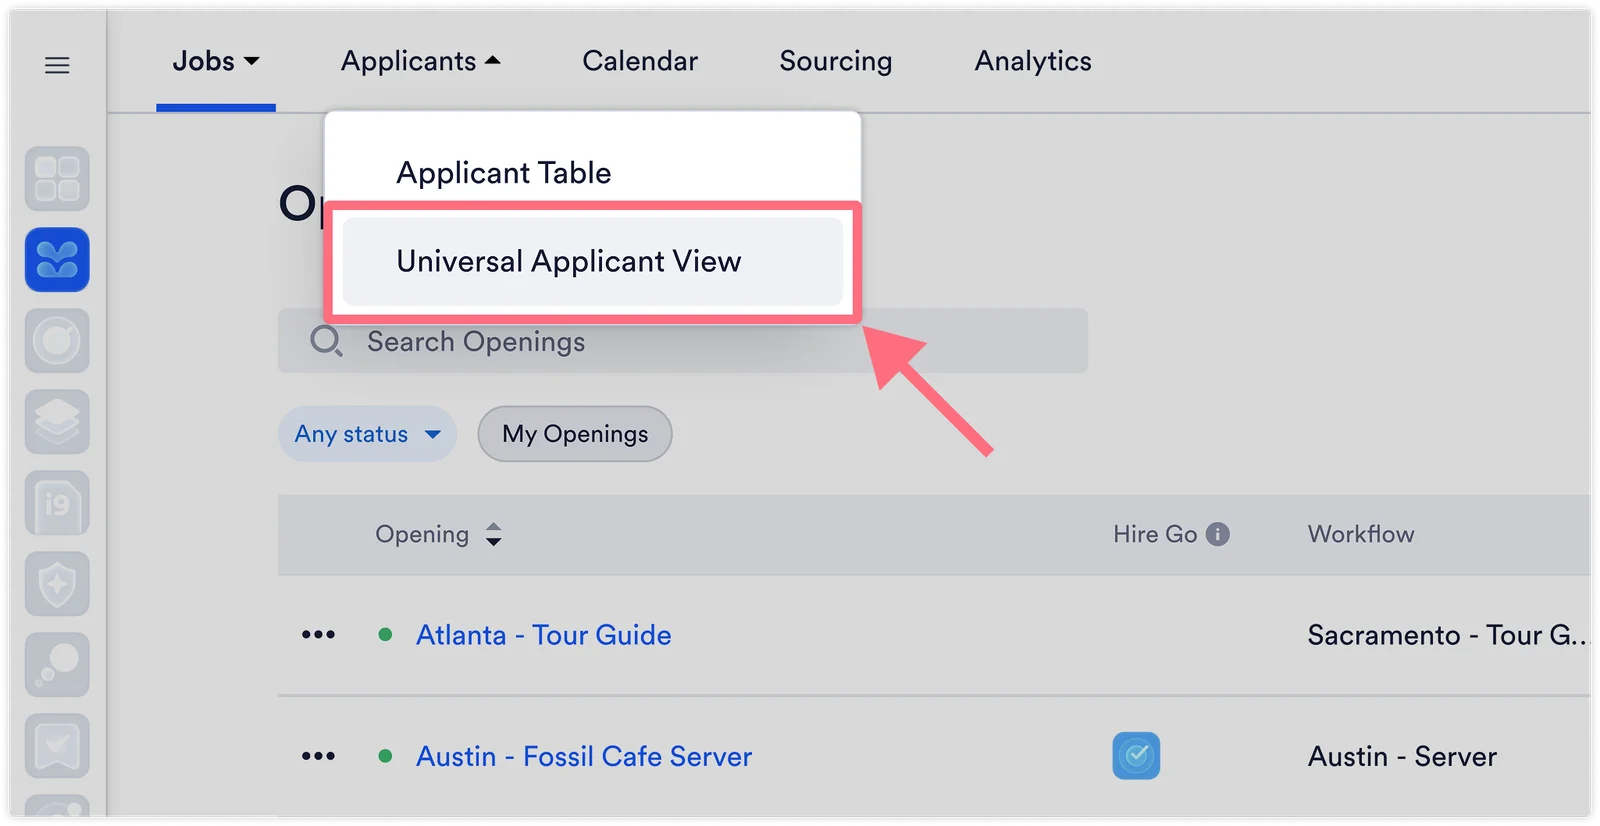
Section titled “Access the Universal Applicant View”To navigate to the Universal Applicant View, click the Applicants dropdownin the top toolbar of any Rekrutek page and then click Universal Applicant View in the dropdown.
Universal Applicant View Capabilities
Section titled “Universal Applicant View Capabilities”Filter Applicants
Section titled “Filter Applicants”The UAV includes two filter buttons at the top of the screen:
- Filter by Jobs and Stages: narrow the applicant list by the opening or stage applicants are currently in. For example, filter for applicants applying to a specific opening or applicants who have not yet scheduled their interview.
- Filter by Applicant Data: filter based on data applicants have provided throughout the application process.
Click either filter button to open the filter panel. Select your criteria and click Apply to update the applicant list. Learn more about using filters in this article.
View Applicant Count
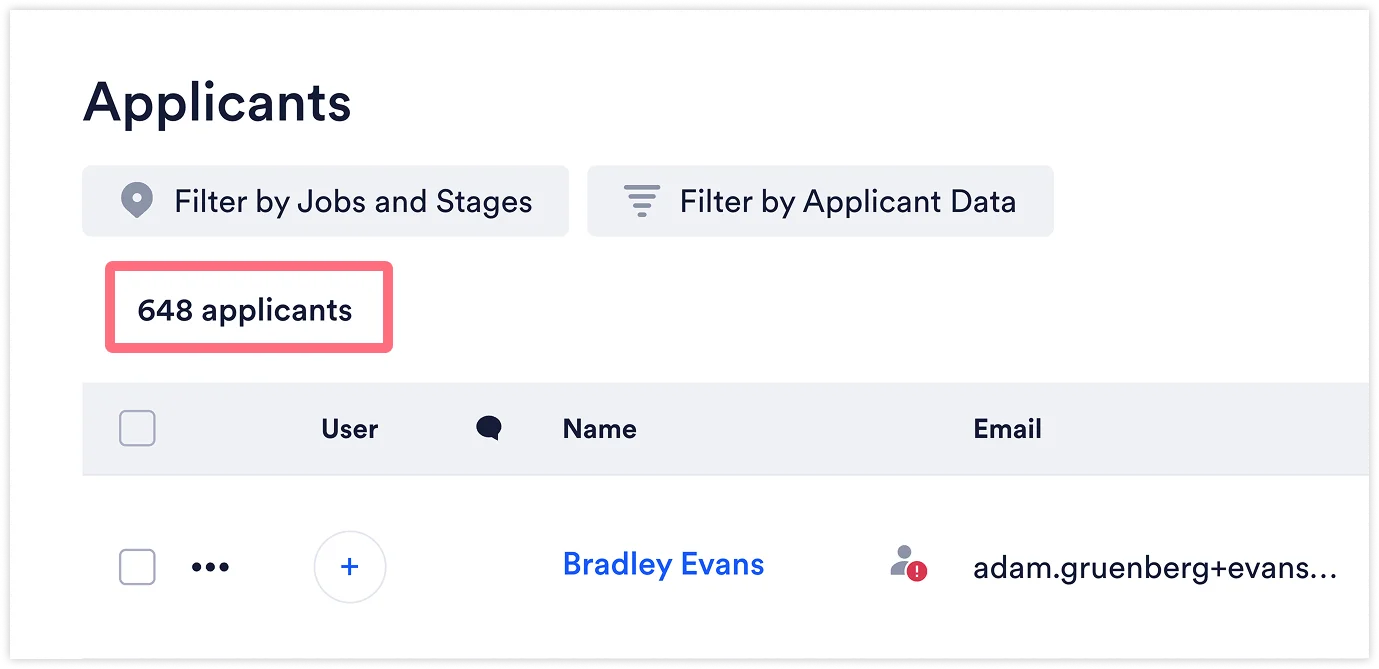
Section titled “View Applicant Count”Below the filter buttons, the UAV displays the total number of applicants currently moving through all openings. This count updates when filters are applied.
Navigate Columns
Section titled “Navigate Columns”The UAV displays applicant information in a fixed set of columns. Unlike the Applicant Table, columns in the UAV cannot be reordered, customized, or replaced with Quick Action buttons. The columns include:
- Name
- Phone
- Progress
- Stage
- Job
- Status
- Custom Label
- Landed – When the applicant landed in their current stage.
- Idle Since – The time since the applicant has taken an action.
Click column headers to sort the applicant list by that column.
Understand Status Labels
Section titled “Understand Status Labels”The colored status labels in the Status column indicate the steps an applicant has completed and where your action may be required. Learn more about status labels in this article.
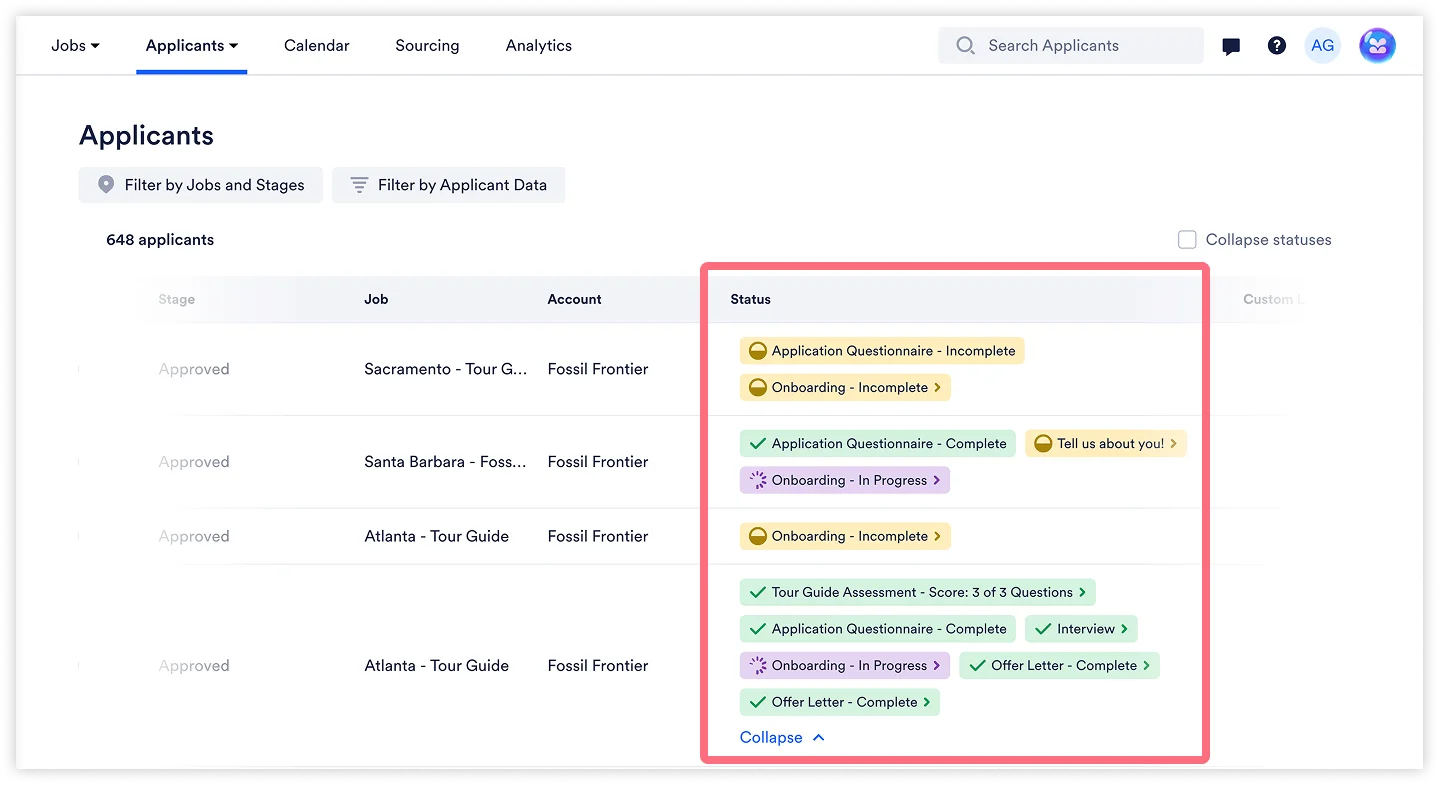
Use the Collapse status checkbox to minimize the status label view in the table.
Search for Applicants
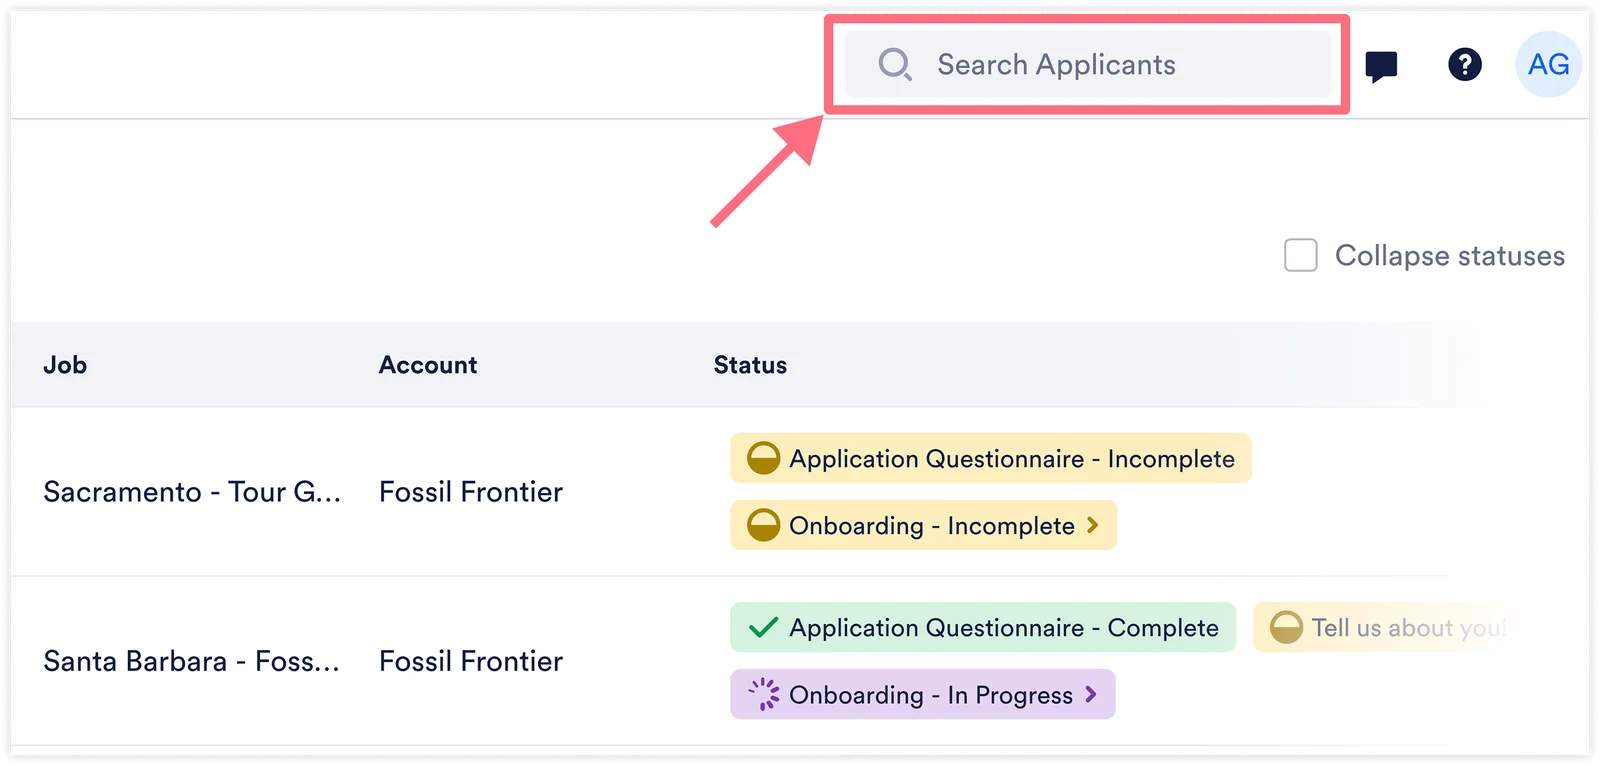
Section titled “Search for Applicants”Use the Search Applicants bar in the top right corner of any Rekrutek page to find an applicant by name across all openings.
Select Applicants in Bulk
Section titled “Select Applicants in Bulk”You can perform bulk actions on applicants, such as moving them to the next stage, rejecting, or messaging, using the Bulk Actions toolbar that appears at the bottom of the screen when applicants are selected.
To select applicants, check the box to the left of each applicant’s name. To select all applicants visible on the current page, check the box in the column header row. To select all applicants matching any active filters, click Select All (#) in the Bulk Actions toolbar.
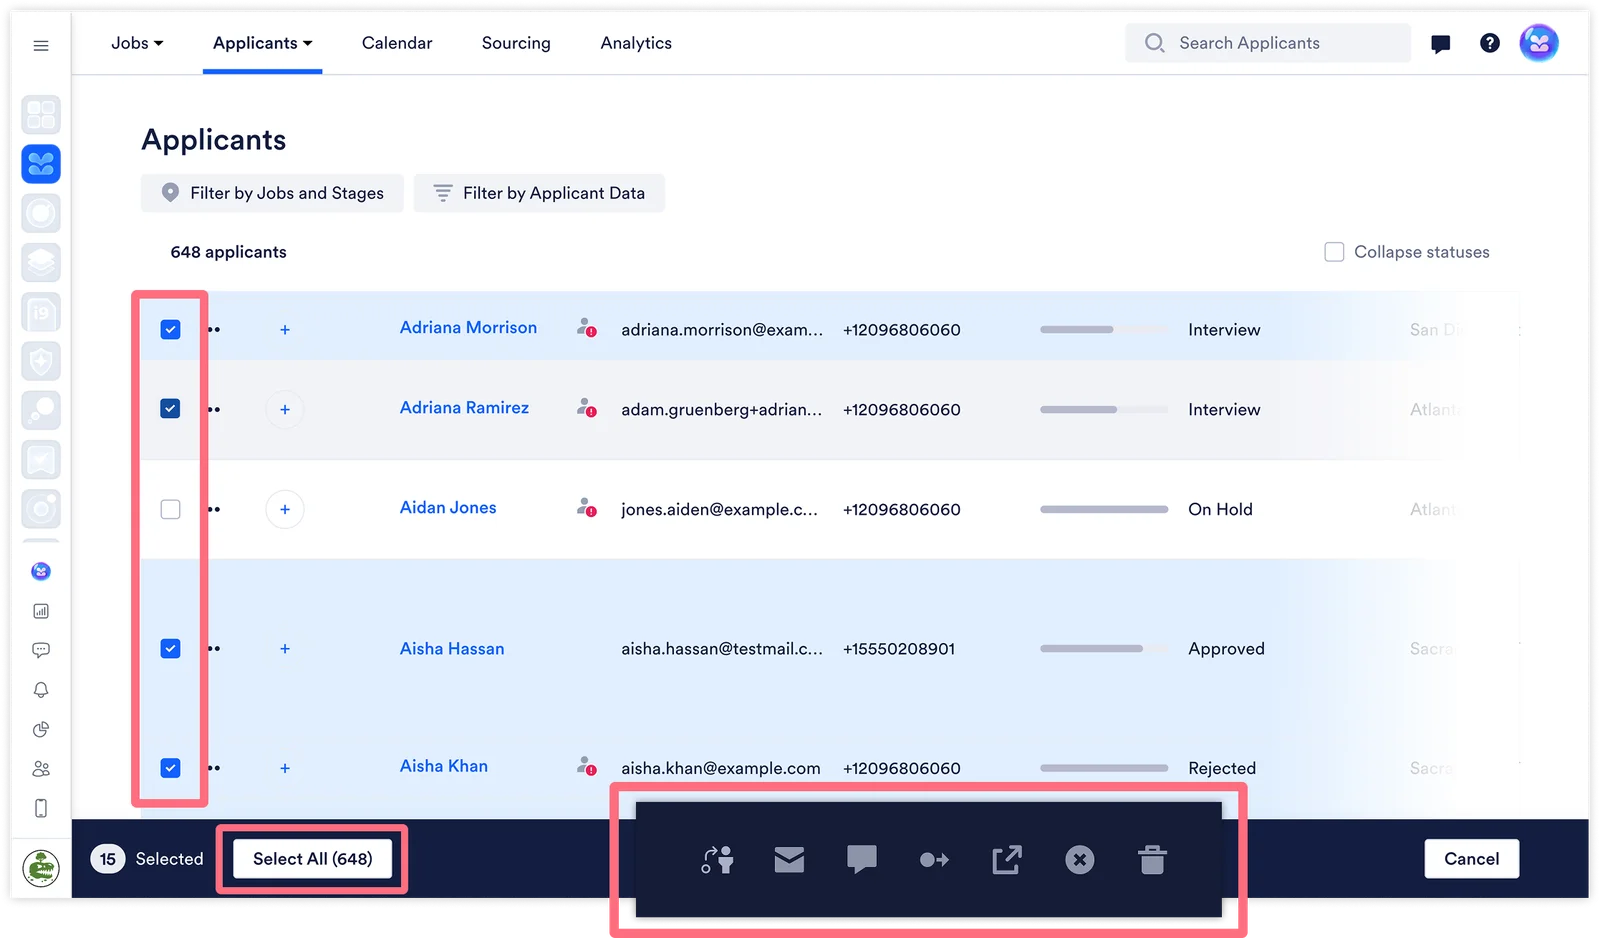
After using Select All, individual applicant checkboxes remain active. Click any selected applicant’s checkbox to deselect them and remove them from the bulk action. To add a deselected applicant back, click their checkbox again. To reselect all applicants and clear all deselections, click Select All (#) again.
Collapse Status Labels
Section titled “Collapse Status Labels”The Universal Applicant View includes a Collapse statuses feature to improve readability when reviewing applicants with extensive status label histories. This feature works the same way as it does on the Applicant Table.
By default, all status labels are expanded, showing every status update an applicant has received. To collapse statuses:
- Locate the Collapse statuses checkbox in the upper right area above the applicant list.
- Check the box to collapse status labels.
When the Collapse statuses feature is enabled:
- Each applicant row shows only their most recent status
- A “Show all” link appears below the collapsed status
- Click “Show all” to expand an individual applicant’s full status history without affecting other rows
Your collapse preference is automatically saved and applies across both the Universal Applicant View and the Applicant Table. The preference persists for 1 week and is remembered when you navigate between the two views.