
Rekrutek Azure Entra ID Setup
If your company is using Microsoft Azure SSO for user logins, a Rekrutek account Administrator will need to complete a few additional steps in both Azure and Rekrutek to ensure users can log in through Azure SSO when accessing the Rekrutek platform.
Azure Entra ID Steps
Section titled “Azure Entra ID Steps”First, you must complete the following steps in Microsoft Azure:
- Log in to your Azure portal and navigate to Azure Active Directory (now called Microsoft Entra ID).
- Navigate to Enterprise applications and click +New application.
- Click +Create your own application.
- Type a name, such as Rekrutek SSO, and select Integrate any other application you don’t find in the gallery (Non-gallery).
- Finally, navigate to the Single Sign-On blade and select SAML.
Exchange Metadata - Rekrutek to Azure Steps
Section titled “Exchange Metadata - Rekrutek to Azure Steps”Next, you’ll share Rekrutek’s details with Azure:
-
In the Azure SAML set up screen, locate the Basic SAML Configuration section and click Edit.
-
Navigate to the Rekrutek browser tab and click your company logo in the bottom left side panel. Then click Settings.
-
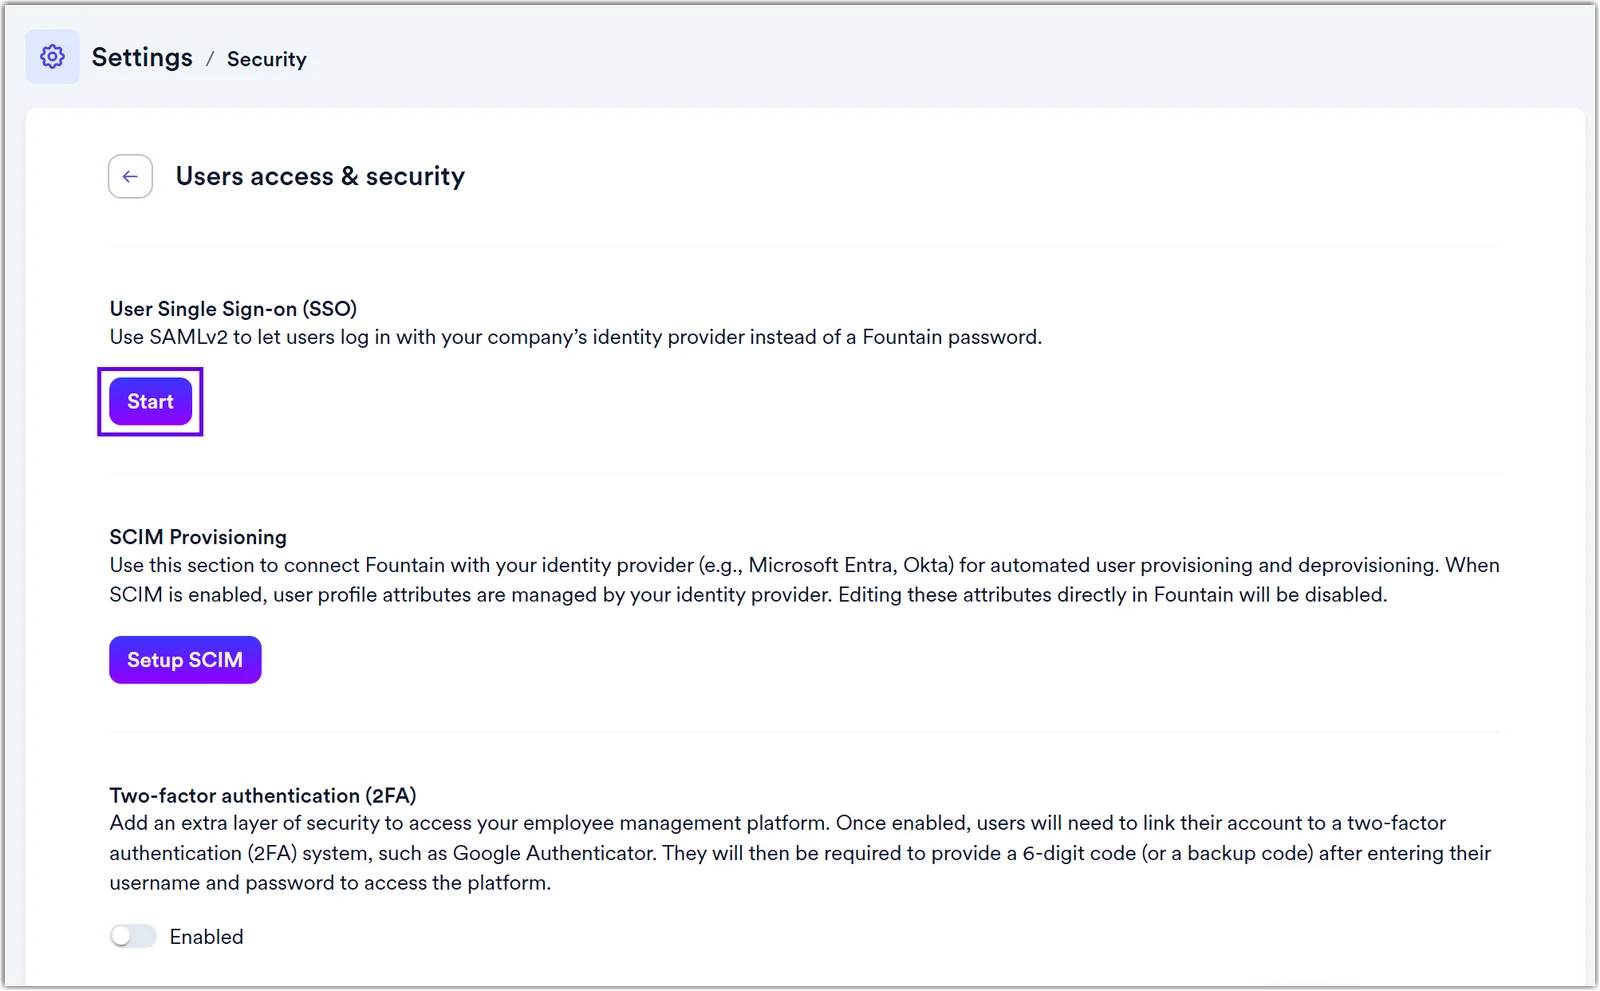
In the Users section, click the User Access & Security link.
-
Click Start under the User Single Sign-on (SSO) section.
-
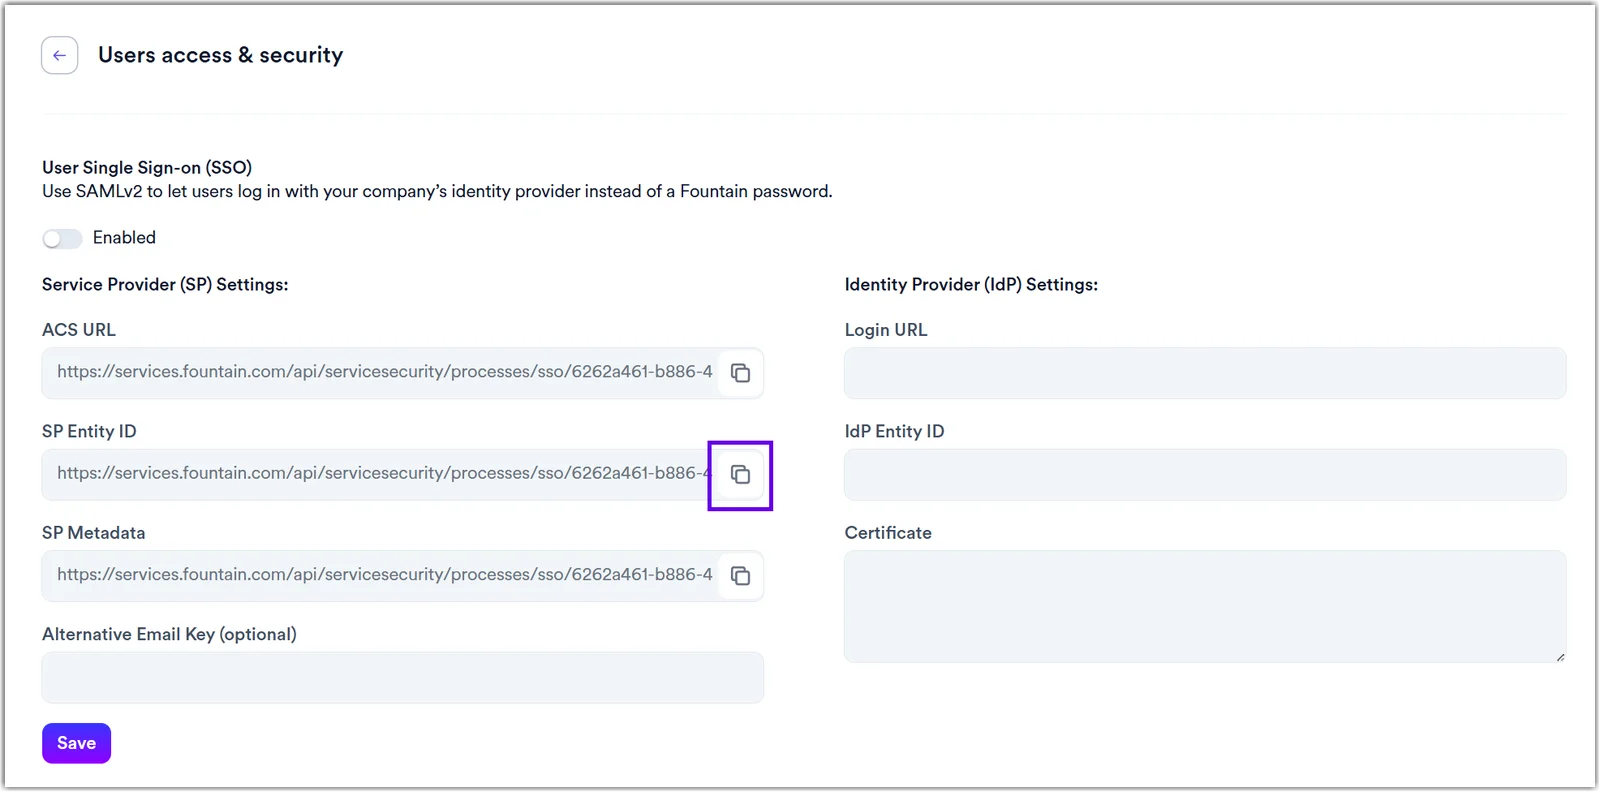
Copy the SP Entity ID for Rekrutek.
-
Navigate back to the Azure tab and paste the Rekrutek SP Entity ID into the Identifier (Entity ID) field.
-
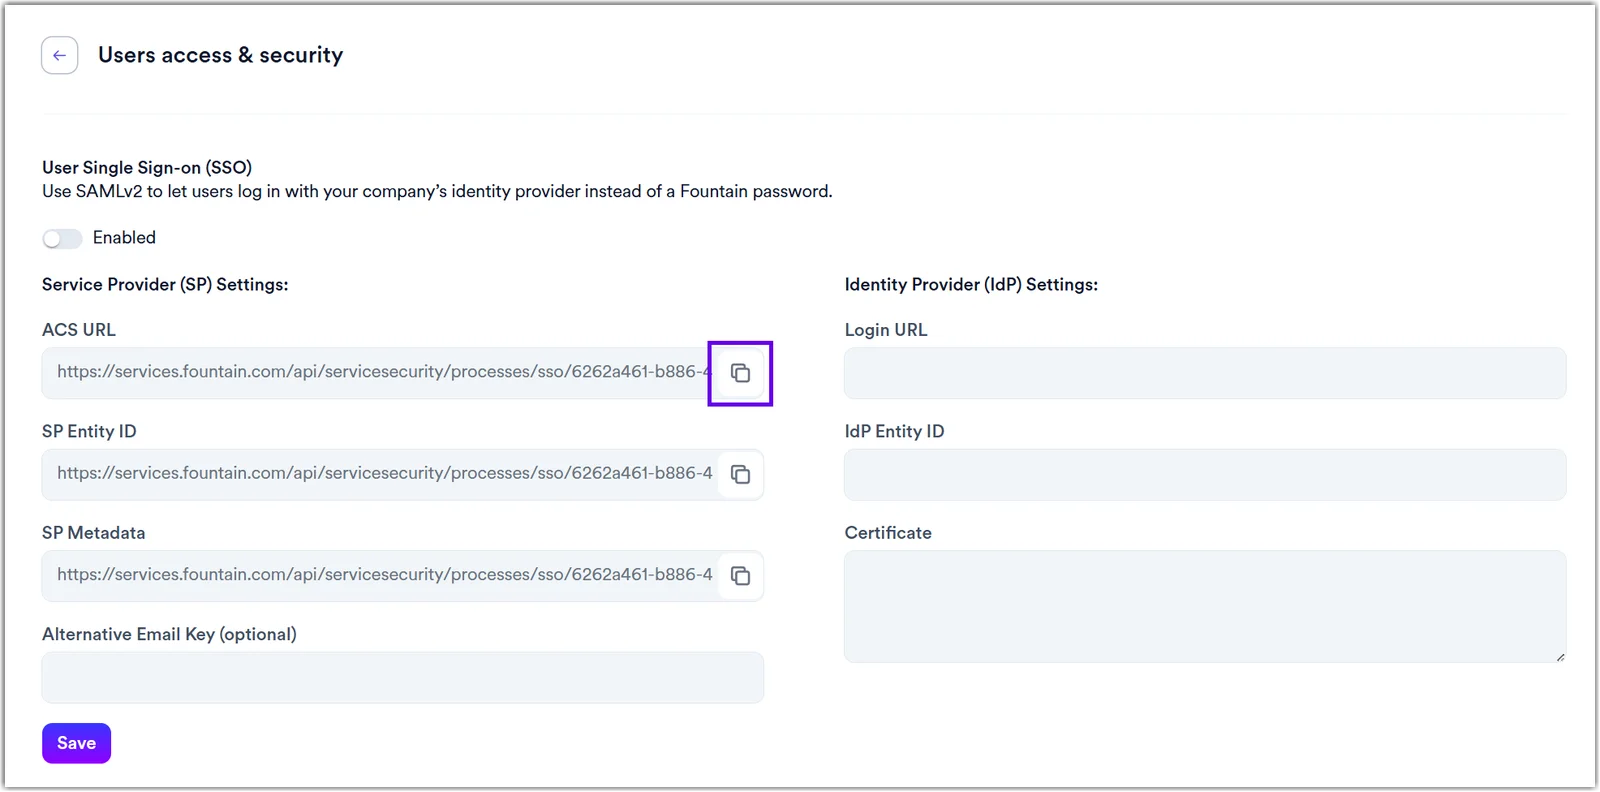
Navigate back to the Rekrutek tab and copy the ACS URL.
-
Navigate back to the Azure tab and paste the ACS URL into the Reply URL (Assertion Consumer Service URL) field.
-
Click Save in Azure.
Exchange Metadata - Azure to Rekrutek Steps
Section titled “Exchange Metadata - Azure to Rekrutek Steps”Finally, you’ll share Azure’s details with Rekrutek:
-
In the Azure SAML setup screen, navigate to the SAML Certificates section.
-
Copy the Login URL from Azure.
-
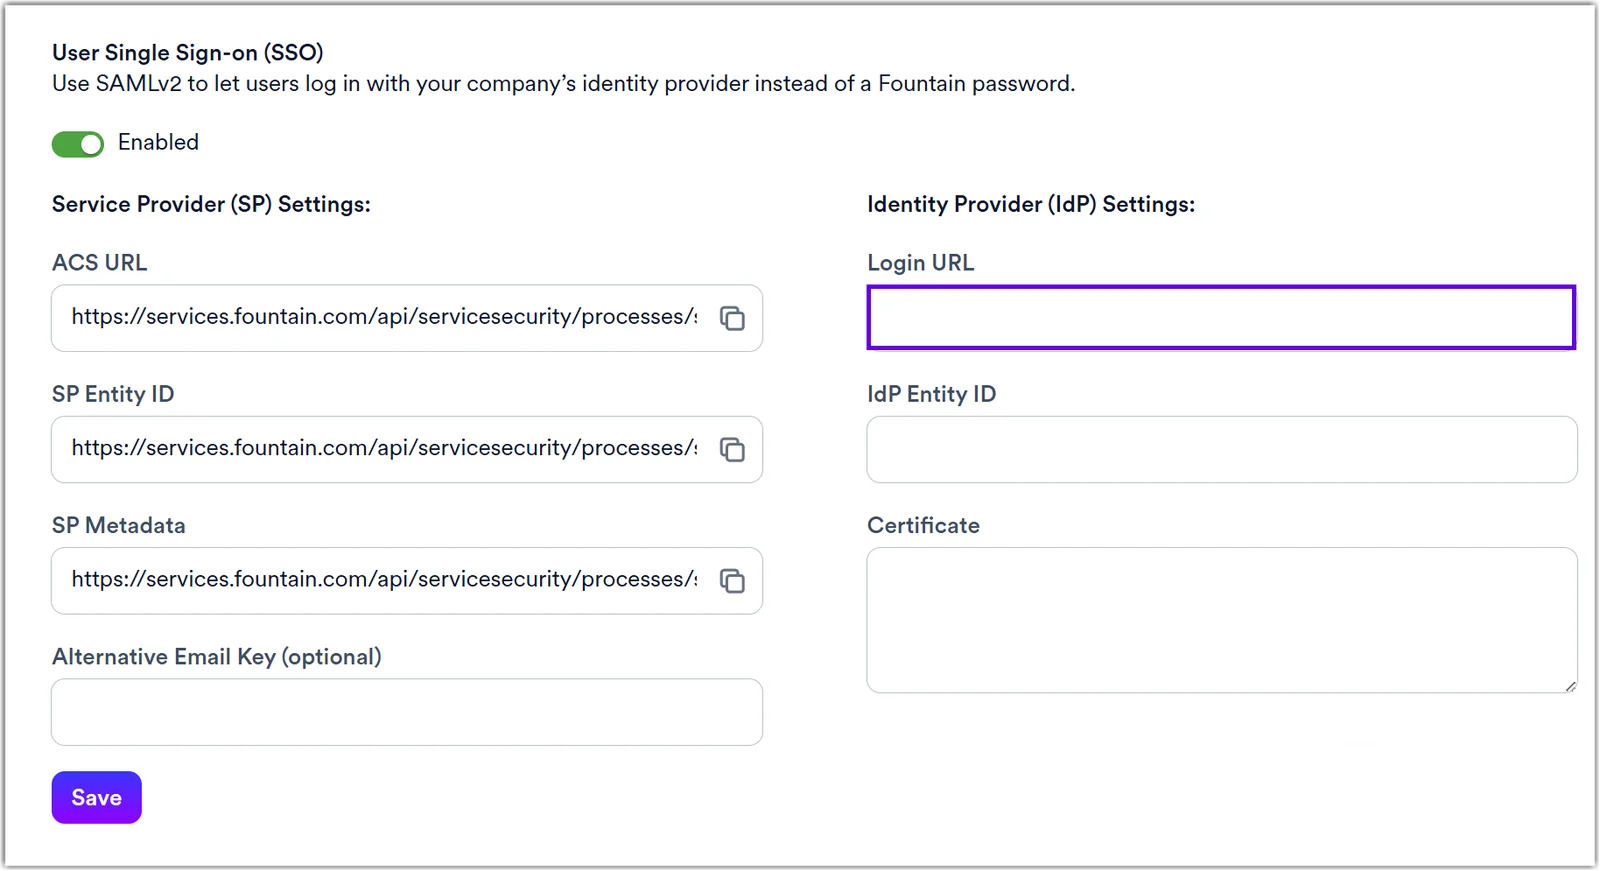
Navigate to the Rekrutek browser tab and click the Enable toggle to on. This will allow you to paste into the fields on the Right.

-
Paste the Login URL into the Login URL field.
-
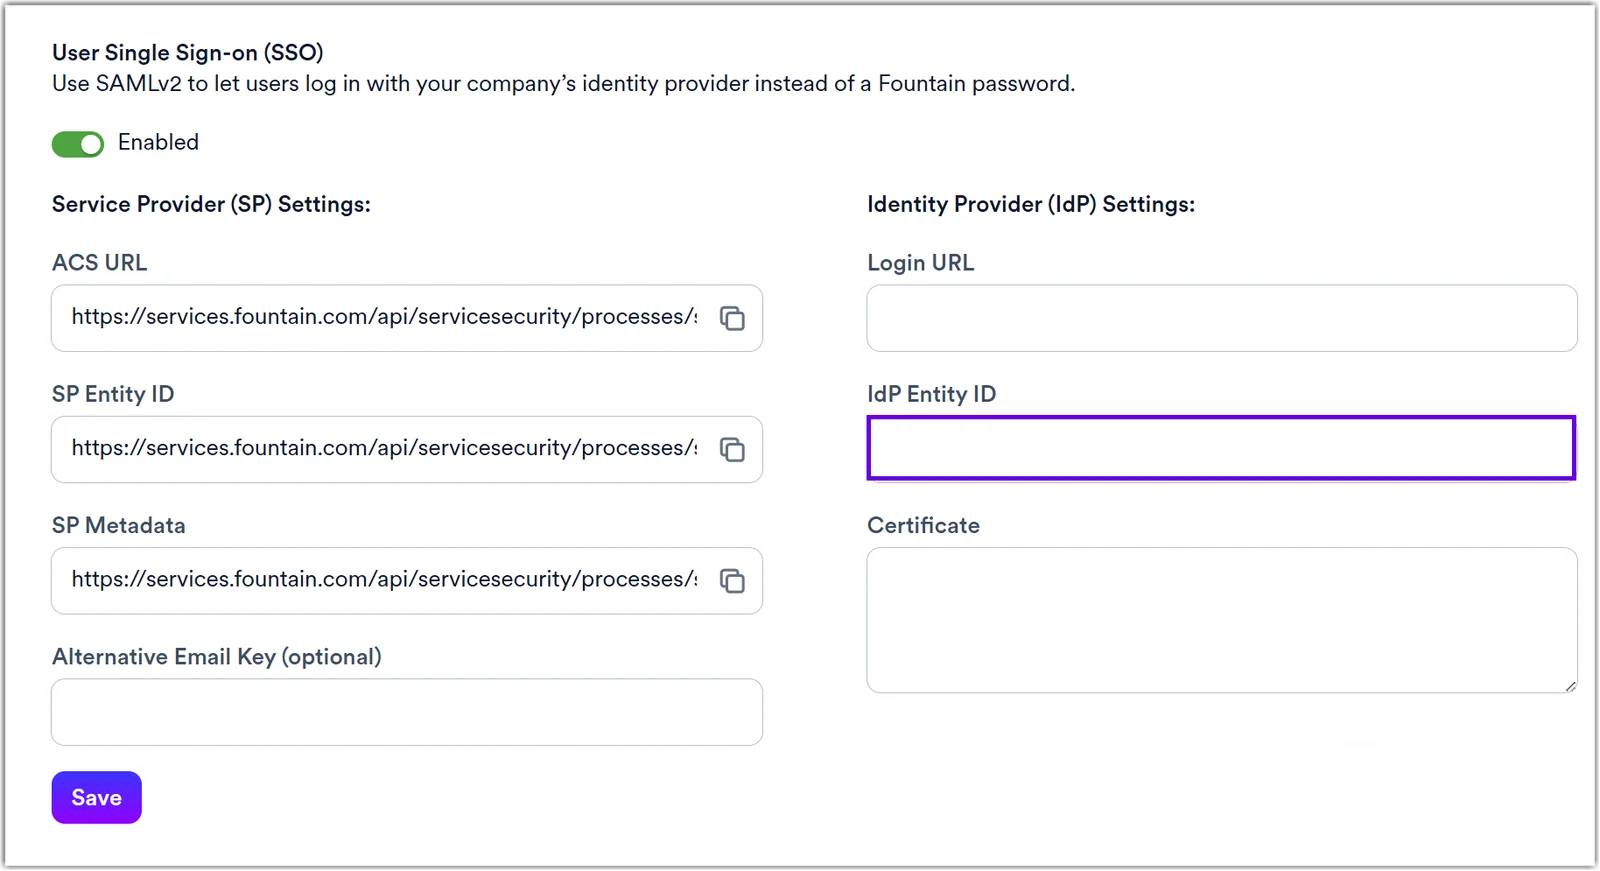
Navigate back to the Azure browser tab and copy the Azure AD Identifier.
-
Navigate back to the Rekrutek browser tab and paste the Azure AD Identifier into the IdP Entity ID field.
-
Navigate back to the Azure browser tab and download the Certificate (Base64).
-
Open the .cer file with a plain text editor (like Notepad or TextEdit).
-
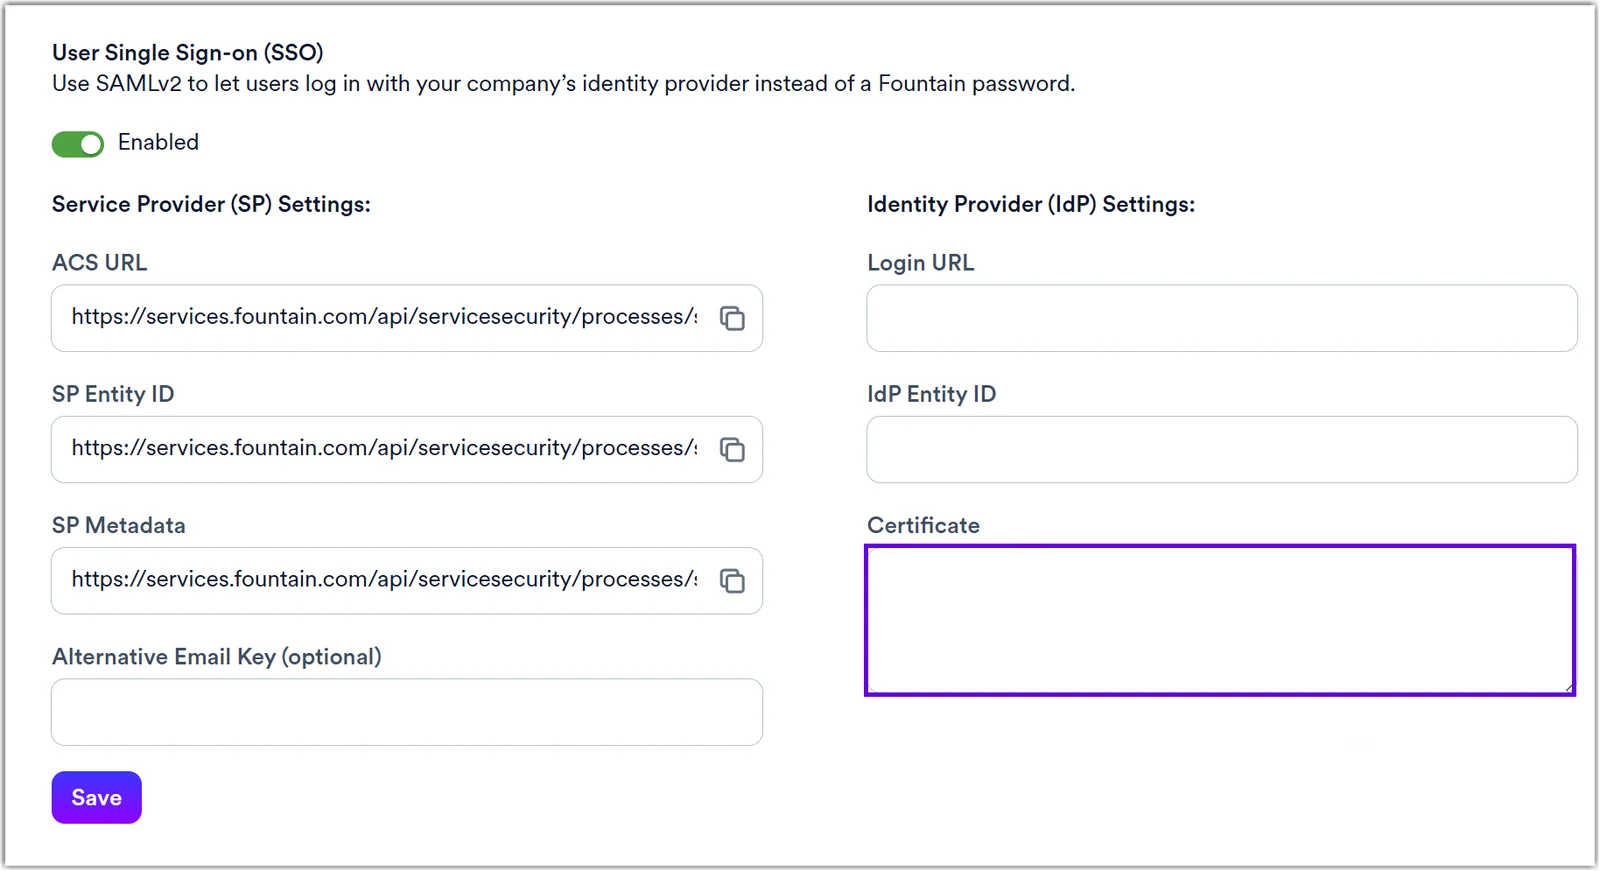
Copy the entire block of text, including —–BEGIN CERTIFICATE—– and —–END CERTIFICATE—–.
-
Navigate back to the Rekrutek browser tab and paste the entire block of text into the Certificate field.
-
Click Save in Rekrutek.
Assign Users and Test
Section titled “Assign Users and Test”Next, you’ll assign users in Azure and test SSO:
-
In your newly set up Rekrutek SSO application in Azure, navigate to the Users and groups blade and assign a test user.
-
In Azure’s SAML settings, check the User Attributes & Claims.
- The Unique User Identifier (NameID) must be the value that Rekrutek expects to receive. This value is typically the user’s email address, such as user.userprincipalname or user.mail in Azure.
-
Open a new incognito or private browser window.
-
Go to https://hire.rekrutek.ai.
-
Attempt to log in. You should be redirected to the Microsoft login page.
-
Sign in as the test user you just assigned in Azure. If the configuration is correct, you will successfully log in to Rekrutek.
Once enabled, all users will log in via Azure Entra ID. Rekrutek will automatically redirect the user to the Azure Login URL. Azure will then ask the user to sign in (if they aren’t already). After successful authentication, Azure will send a SAML “assertion” (a secure XML packet) back to Rekrutek’s ACS URL. Rekrutek will verify this assertion using Azure’s Certificate and, upon success, log the user in.