
Settings
The Settings screen in Rekrutek houses most of the settings that are relevant to your company’s account.
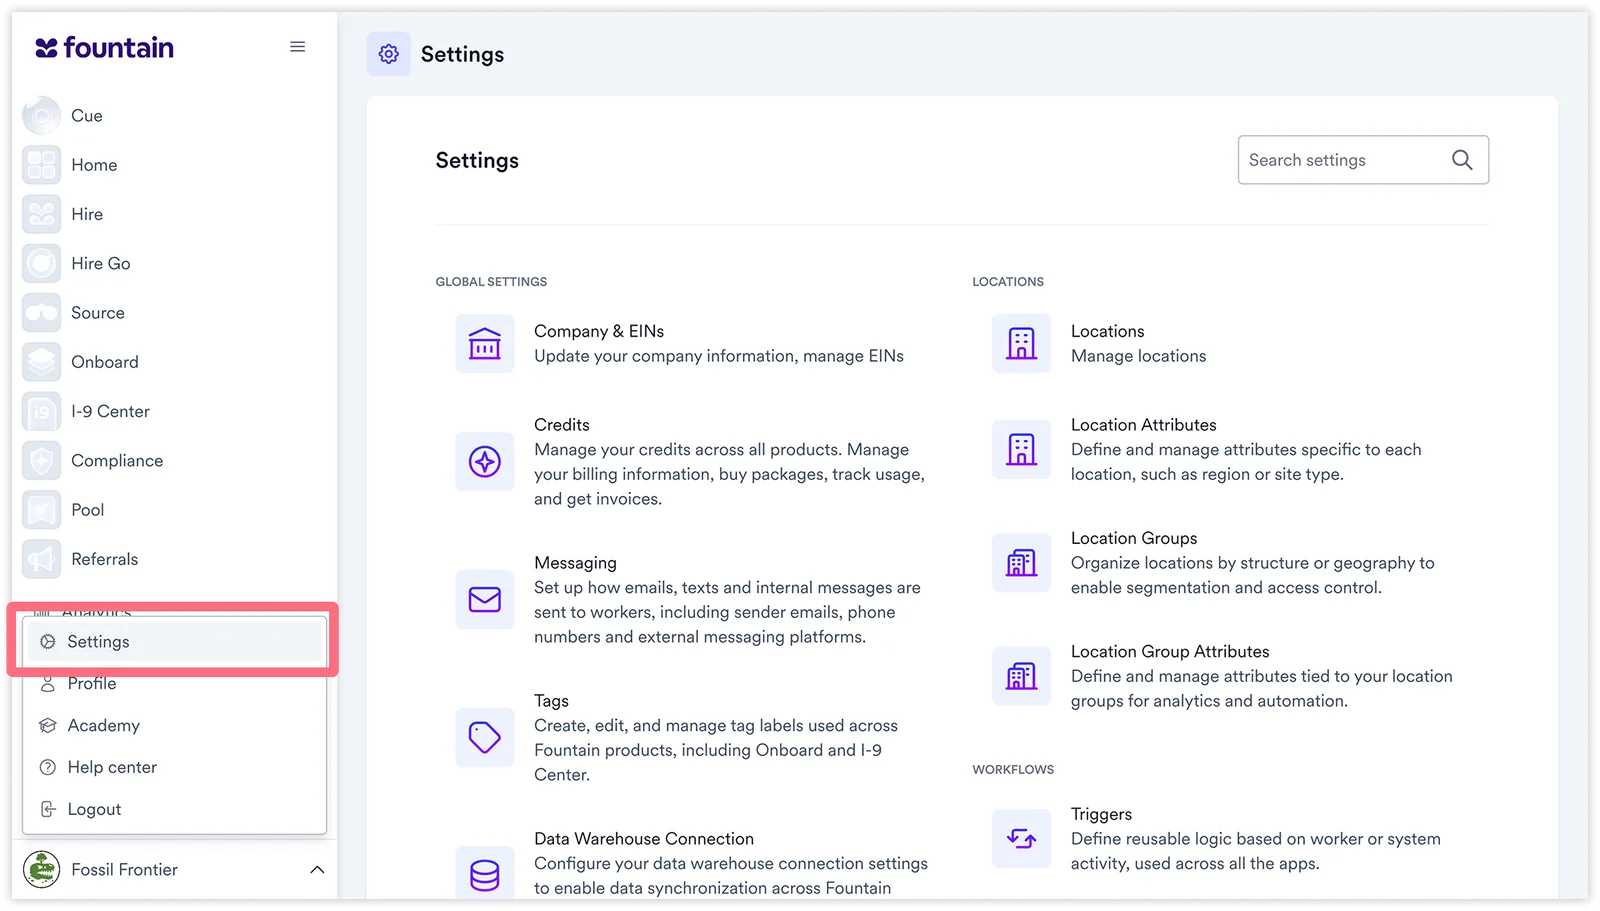
To access the Settings screen, click your company logo in the bottom left corner and then Settings.
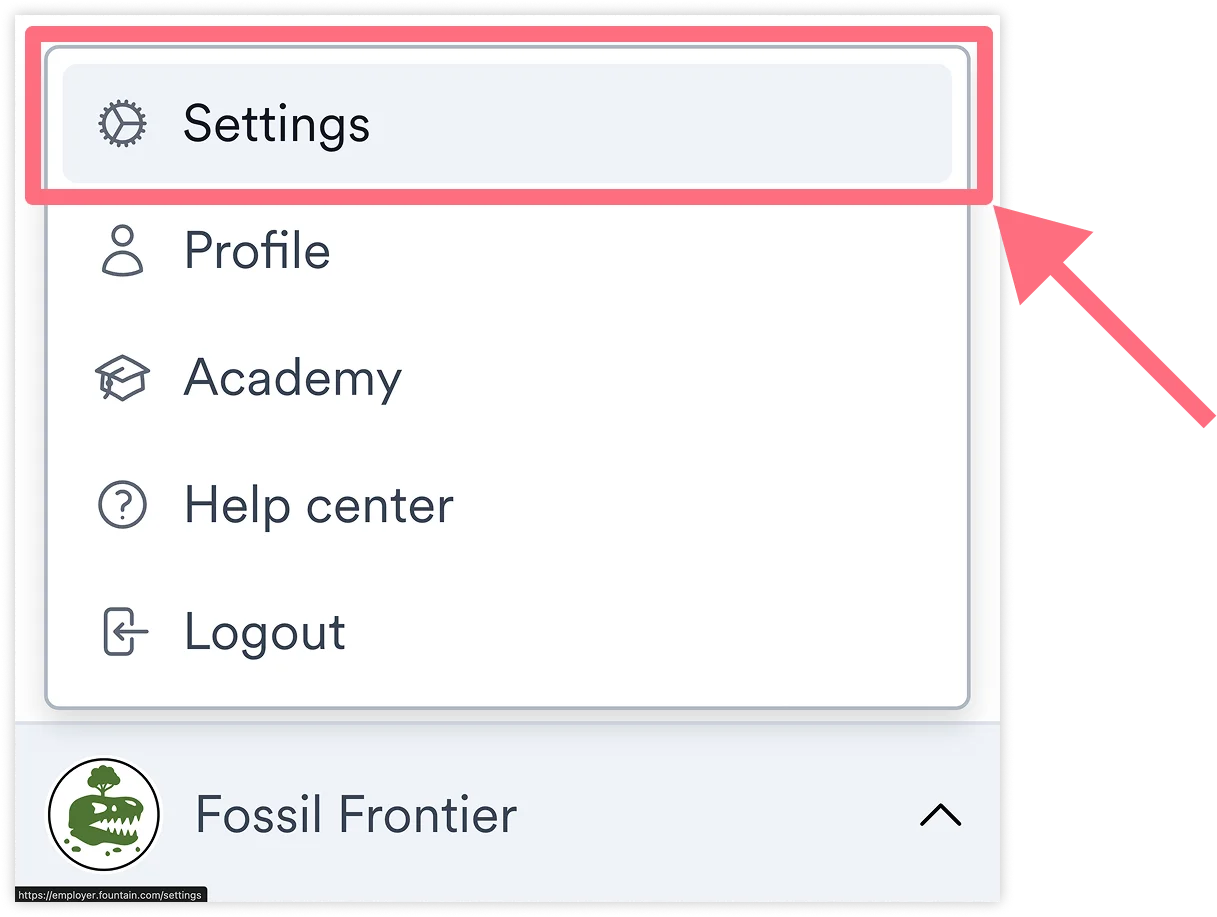
Use the Search settings bar in the top right to quickly find a specific setting.
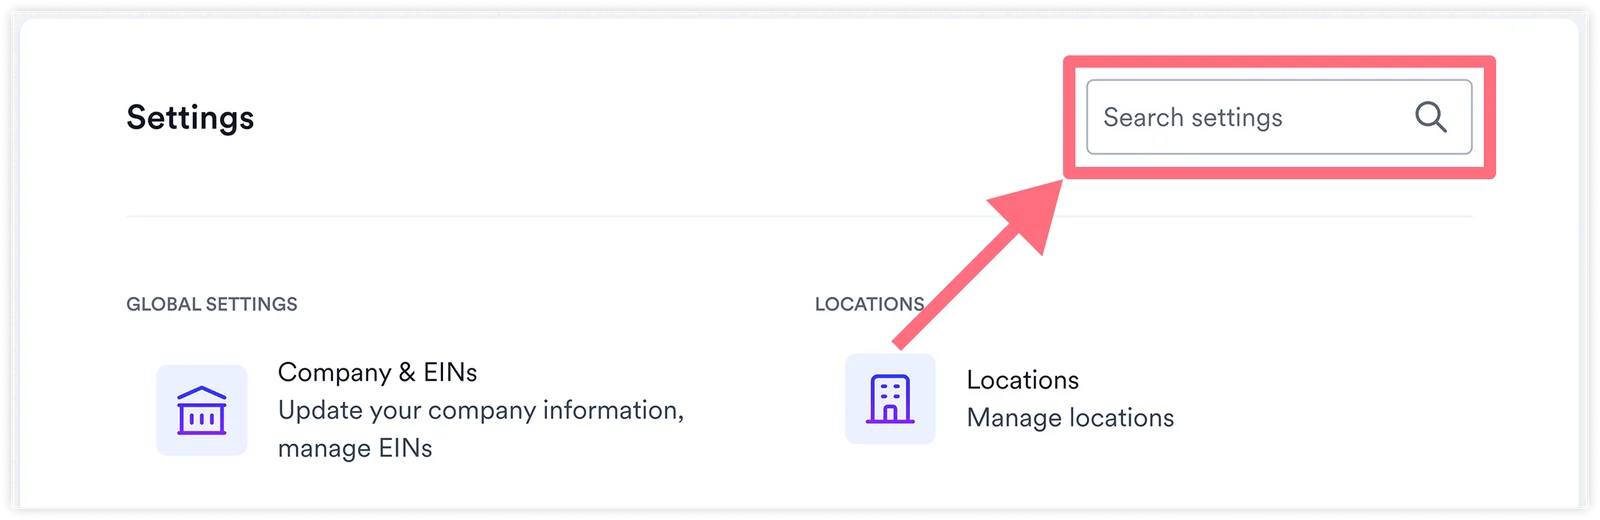
Global Settings
Section titled “Global Settings”Company
Section titled “Company”Use the Company settings page to view and configure settings related to your company.
Company Information
Section titled “Company Information”Includes all basic information for your company, including your company’s name/legal name, address, and logo.
Data Warehouse Connection
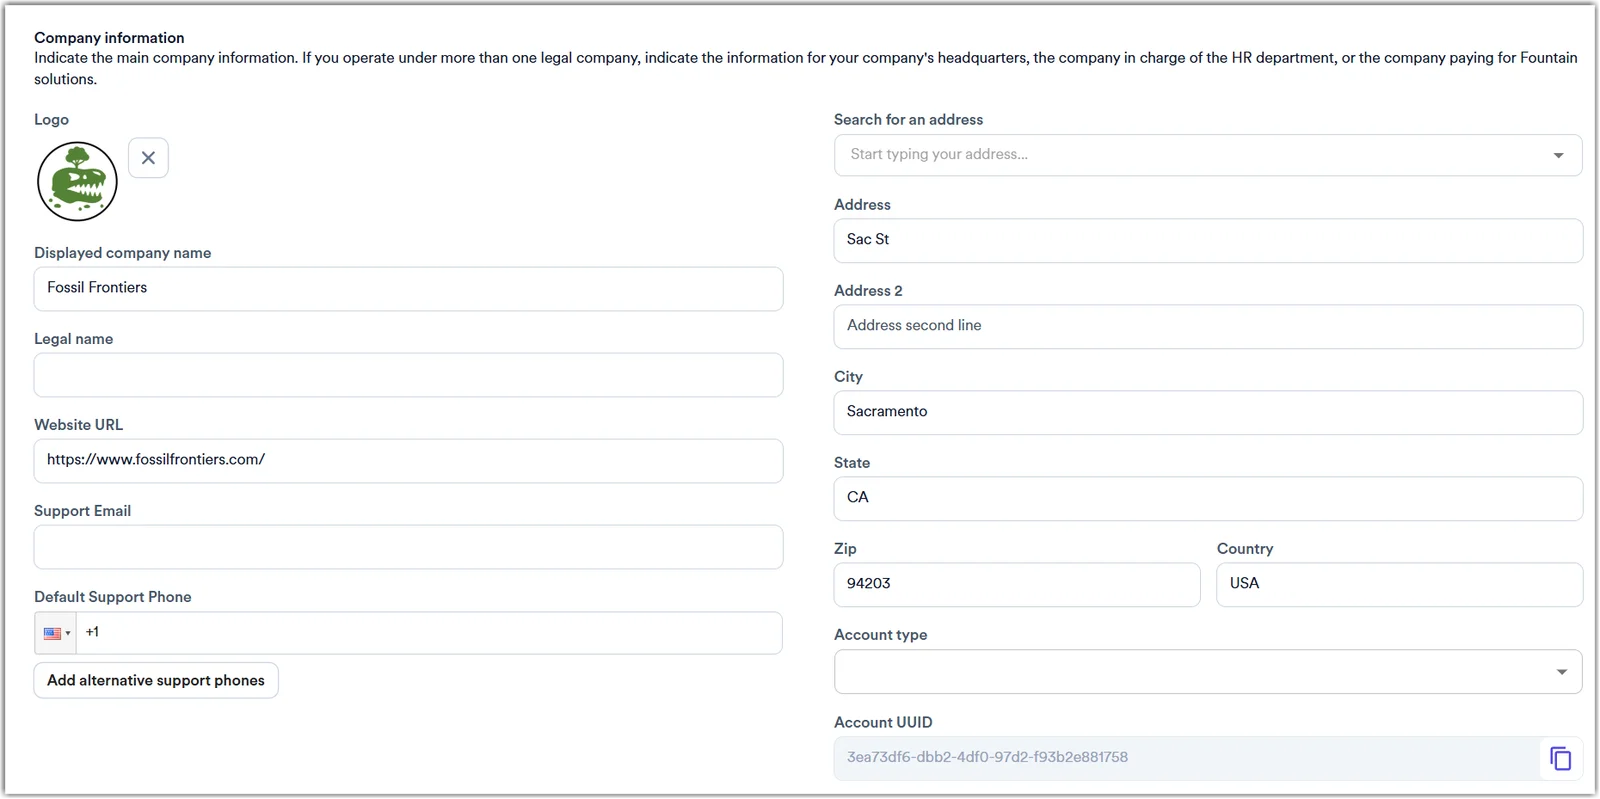
Section titled “Data Warehouse Connection”The Data Warehouse Connection settings page is where you can configure your data warehouse connection settings to enable data synchronization across Rekrutek products with your own data warehouse.
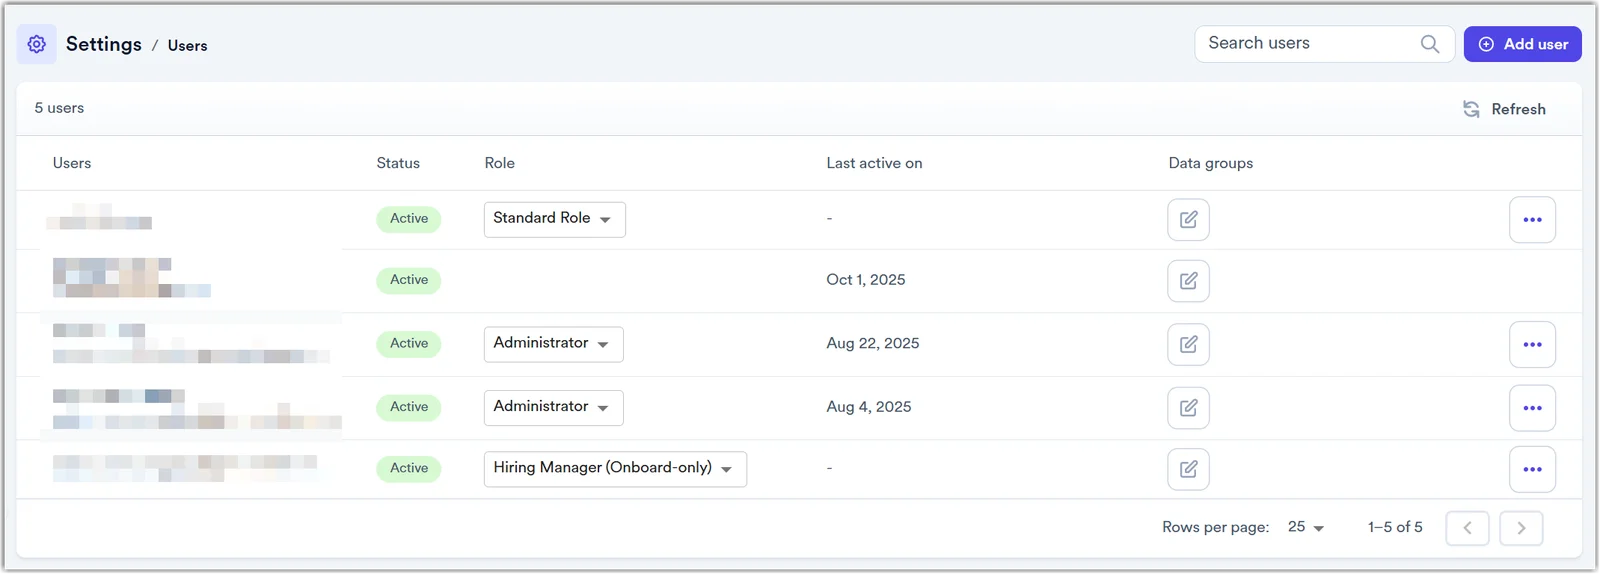
The Users settings page is where you will add new users to your company’s Rekrutek account and manage their access.
Click +Add User in the top right corner, type the email address, select the user role, and click Invite. This will send the user an email with a link where they will enter their first and last name and set up a password for their account (if your company is using passwords for login).
User Management Actions
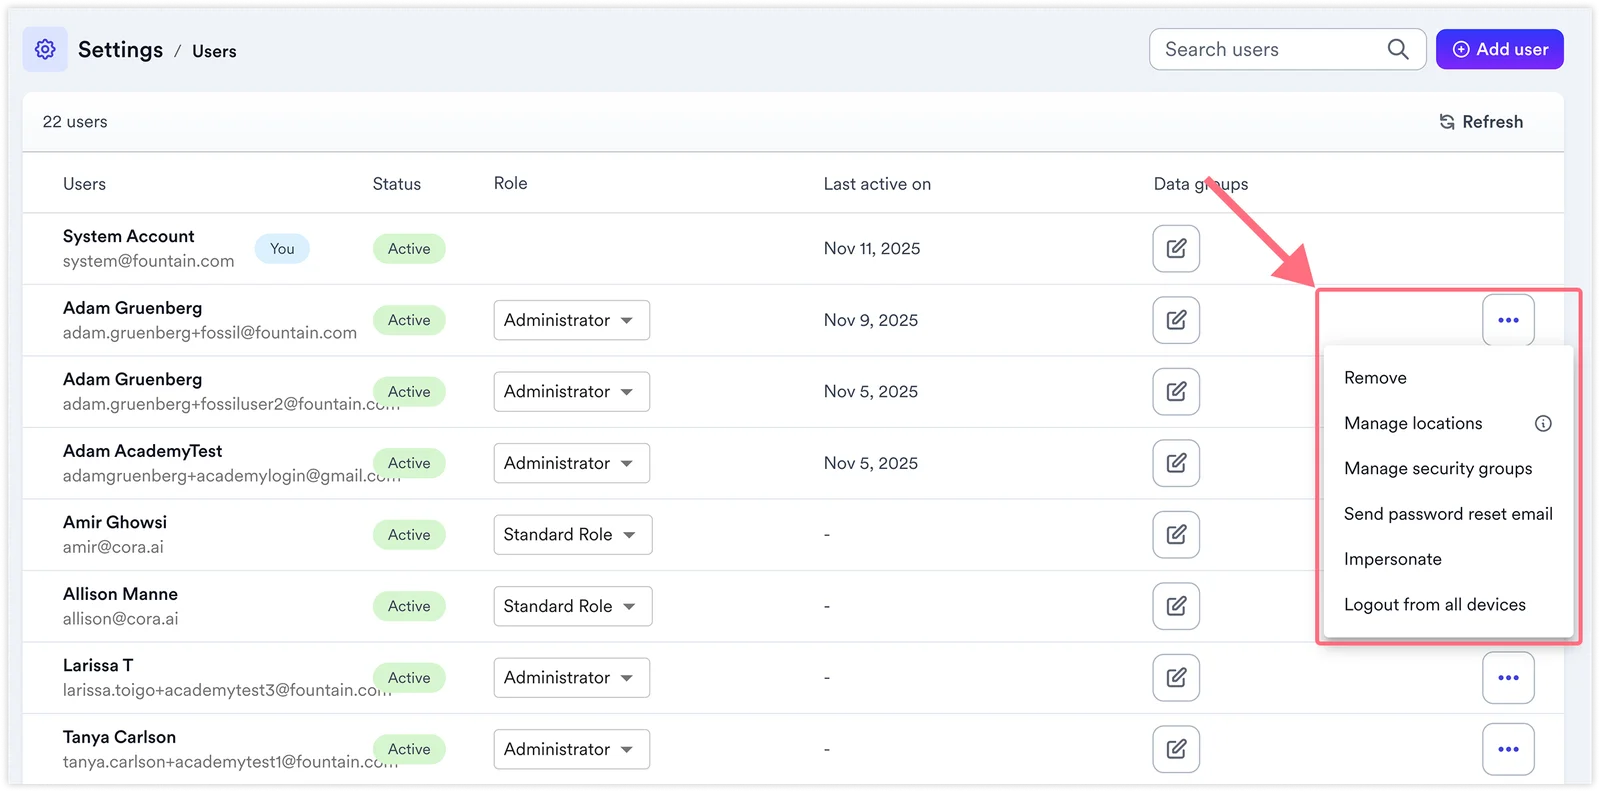
Section titled “User Management Actions”Click the 3 dots button (More Actions) to the right of any user’s name to access management options. Available actions depend on the user’s current status and your permissions:
Remove: Removes the user from the platform entirely, revoking all access to Rekrutek.
Manage locations: Adjust which locations the user can access based on their role type. Note: Some roles are non-location restricted, meaning location assignments won’t impact their access. Learn more about platform roles and permissions in this article.
Send password reset email: Sends the user an email with a link to reset their password. Available when a user has forgotten their password or is locked out.
Unlock: Unlocks a user account that has been locked due to inactivity or security policy. Only visible when a user’s account is in a locked state.
Impersonate: Allows administrators to log in to the platform as this user to troubleshoot issues or verify their experience. Use with caution, as you’ll have full access to what the user can see and do.
Logout from all devices: Forces the user to log out from all active sessions across all devices. For API users, an additional option Invalidate OAuth tokens may also appear, which revokes all active API access tokens.
Resend invitation: Sends the invitation email again to users who haven’t yet accepted their initial invitation. Only visible for users with a “Pending” status.
User Access & Security
Section titled “User Access & Security”The Access & Security settings page is where you can secure user signup (open sign-up, domain filtering) and sign-in (SSO, 2FA, password rules) and manage SCIM provisioning. It has five options that can be enabled:
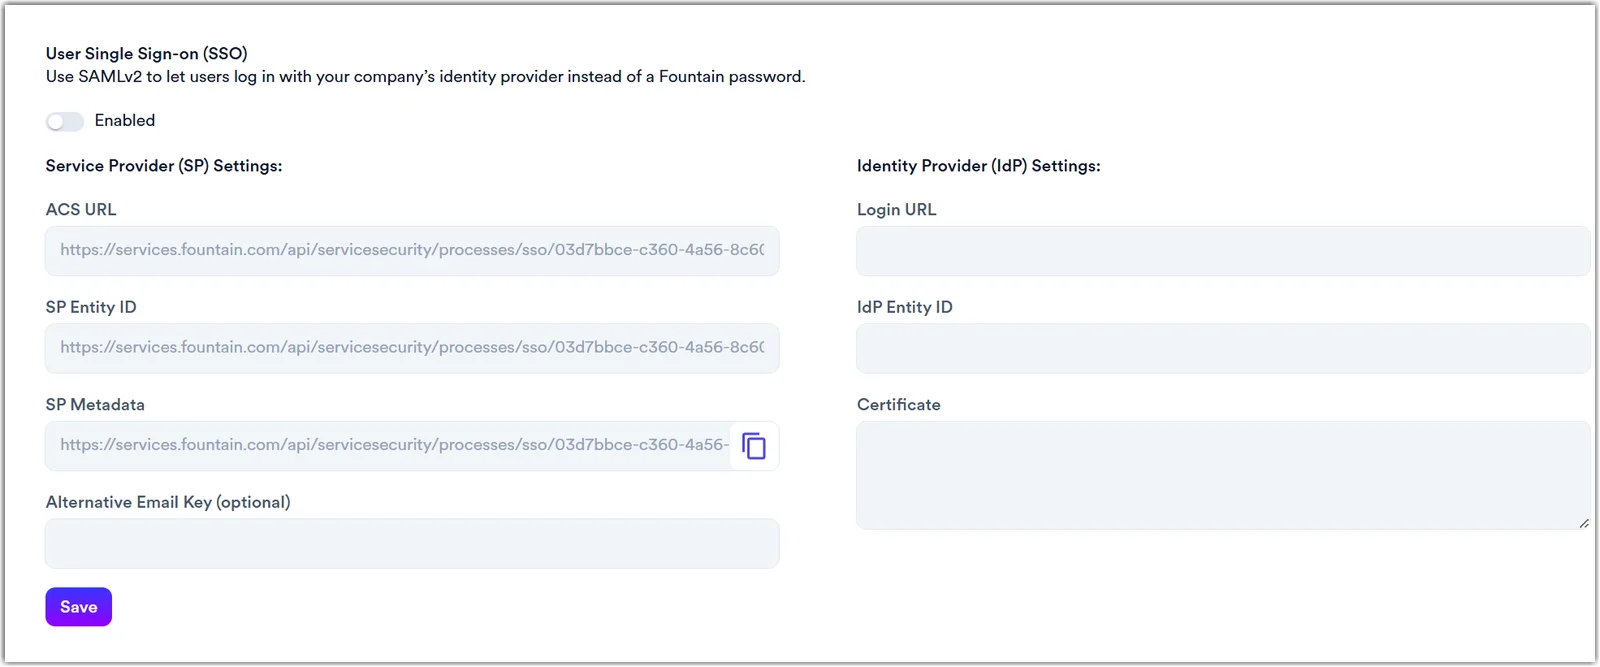
User Single Sign-on (SSO)
Section titled “User Single Sign-on (SSO)”This option allows users to authenticate once and access Rekrutek using a single set of credentials, streamlining the login process and improving user experience. You can set up SSO for your users when accessing the Employer Dashboard. Click the Start button to enable it via a toggle.
SCIM Provisioning
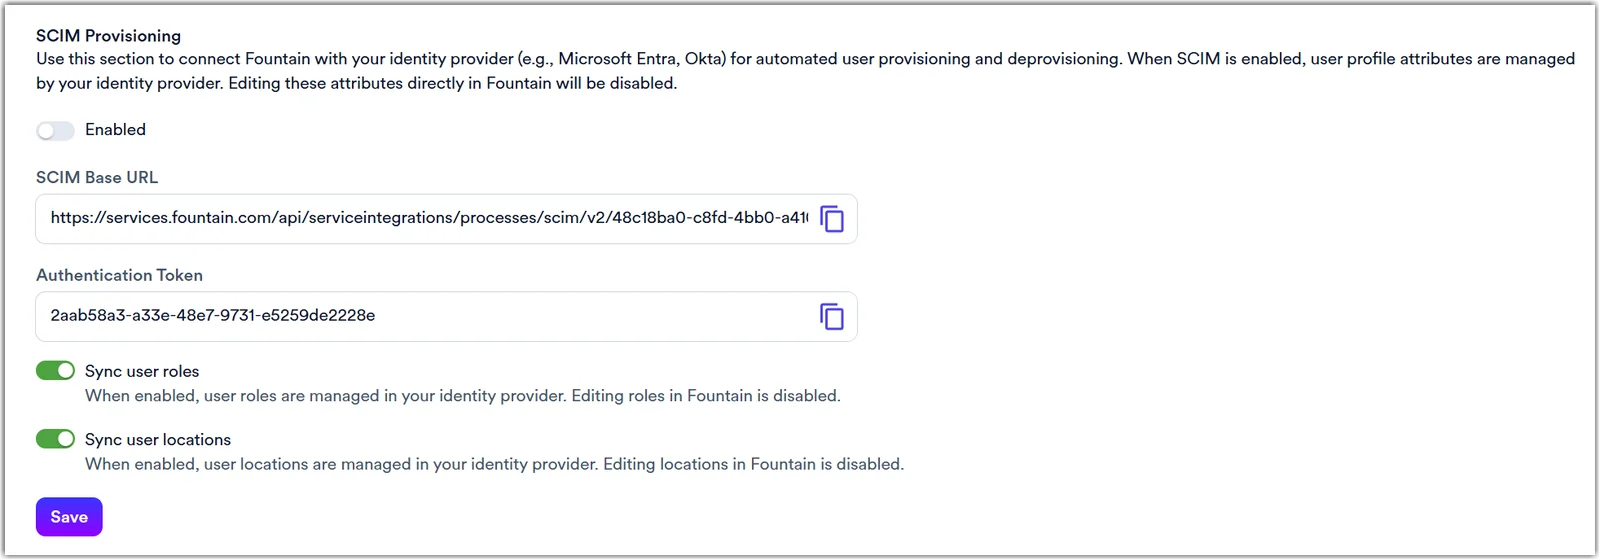
Section titled “SCIM Provisioning”Use this section to connect Rekrutek with an identity provider such as Microsoft Entra or Okta for automated user provisioning and deprovisioning. When SCIM is enabled, user profile attributes are managed by your identity provider. Editing these attributes directly in Rekrutek will be disabled.
Click Setup SCIM and then enable via the toggle.
Two-Factor Authentication (2FA)
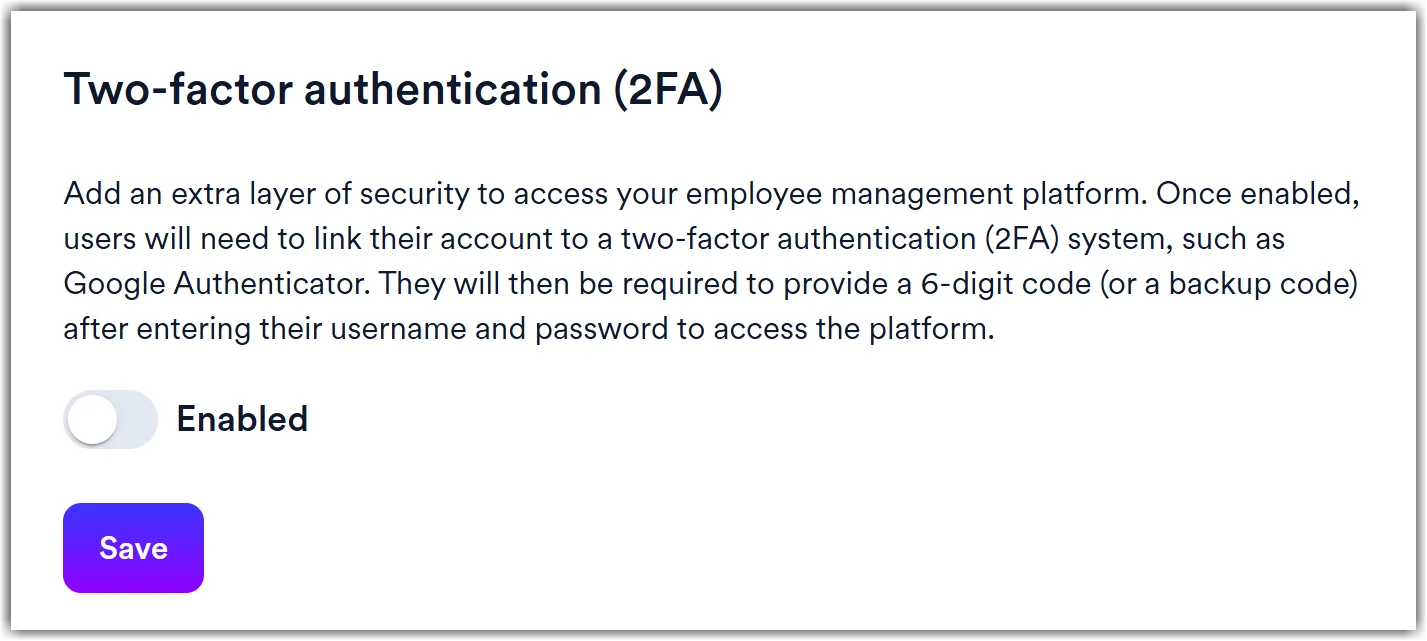
Section titled “Two-Factor Authentication (2FA)”Turning on this toggle will add an extra layer of security when users log in to Rekrutek. Users will link their Rekrutek account to a two-factor authentication (2FA) system, such as Authy or Google Authenticator. They will then be required to provide a 6-digit code anytime they access Rekrutek.
Security Policy
Section titled “Security Policy”Use this section to set up user password requirements. You can set a minimum length for the password and/or how many days the user has until the password expires. You can also adjust the inactivity lock period.
Open Signup
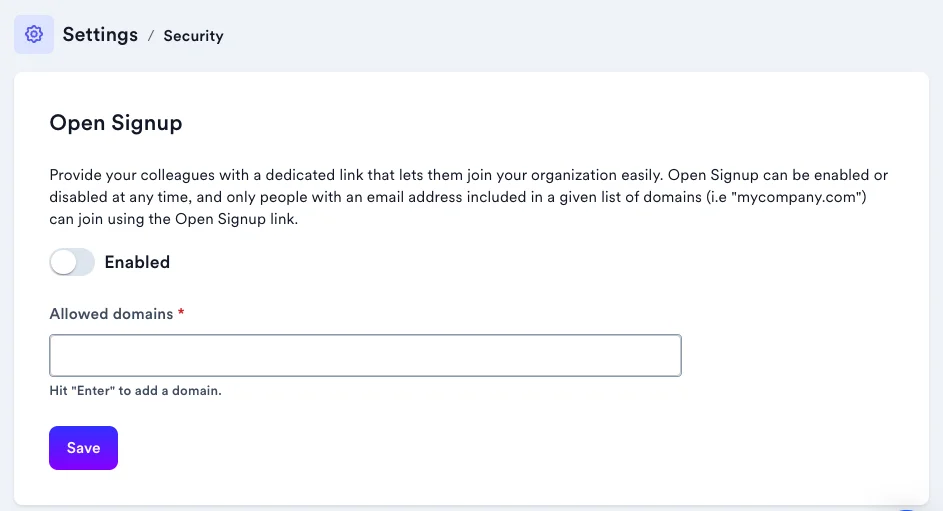
Section titled “Open Signup”This toggle, which is disabled by default, allows people with an email address in a given domain to sign up for the Rekrutek platform through an open signup link. To use this feature:
- Turn the toggle to on.
- In Allowed Domains, enter the domain address (most likely your company’s email format, such as “rekrutek.ai”) and click Enter.
- Click Save. An Open Signup URL will be generated that can be sent to others in your organization.
Roles & Permissions
Section titled “Roles & Permissions”The Roles & Permissions settings page is where you define what users can view or edit across Rekrutek products.
Locations
Section titled “Locations”Locations
Section titled “Locations”The Locations settings page lists all locations in your Rekrutek account. From this page you can search, filter, import, and add locations.
To add a new location, click Add location in the top right corner. The following fields are available:
- Name (required)
- Description
- Notes
- Location group: assign the location to an existing location group
- Brand: associate the location with a specific brand
- Owner: assign an owner to the location
- Timezone
- Language
Click Save when finished.
To manage location attributes directly from this page, click Manage attributes. To add multiple locations at once, click Import.
Location Attributes
Section titled “Location Attributes”The Location Attributes settings page is where you can define and manage attributes specific to each location, such as region or site type.
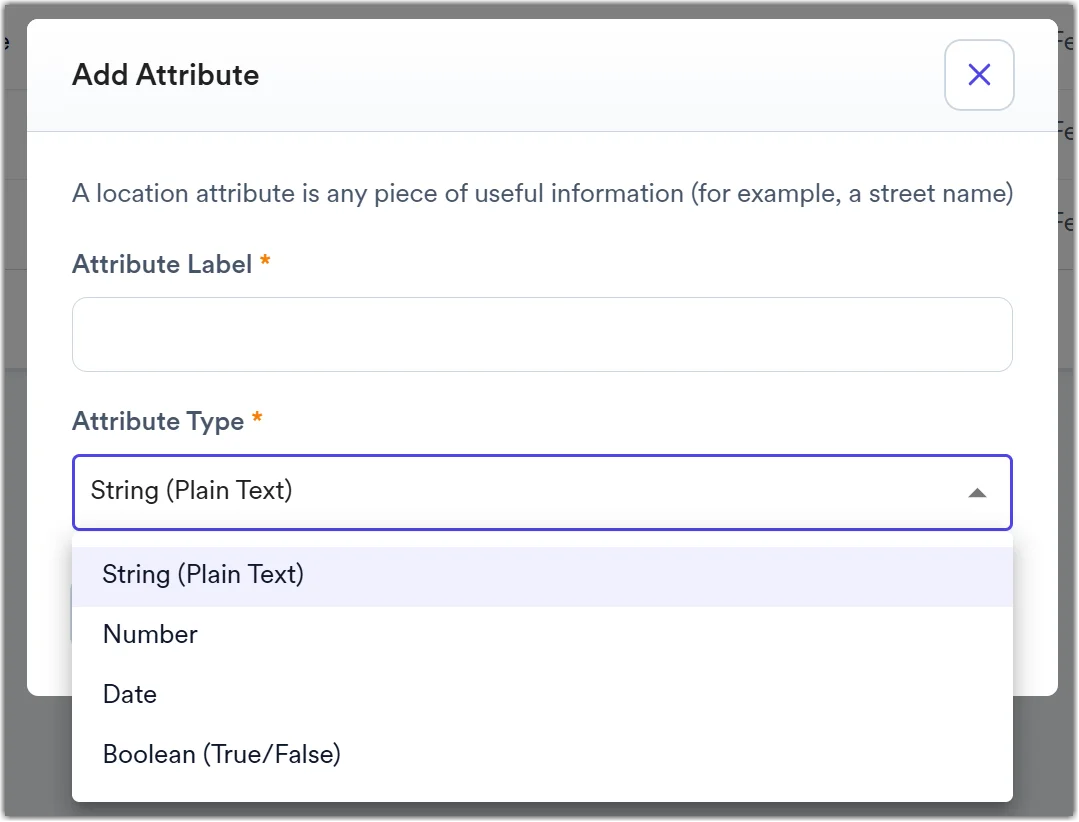
To add a new attribute, click Add attribute in the top right corner. In the Add Attribute modal, complete the following fields:
- Attribute Label (required), a name describing what the attribute represents
- Attribute Type (required), select from String (Plain Text), Number, Date, or Boolean (True/False)
Click Add to save the attribute. To edit or delete an existing attribute, click the 3 dots More Actions button on the attribute row.
Location Groups
Section titled “Location Groups”The Location Groups settings page gives you the ability to view, edit, create, and delete Location Groups. Location Groups are a collection of multiple locations and can be used to streamline the process of assigning roles and permissions by selecting a group of locations rather than selecting individual locations one by one.
To add a new location group, click Add location group in the top right corner. Enter a name and optional description for the group. To manage location group attributes directly from this page, click Manage attributes. To add multiple location groups at once, click Import.
Once a Location Group has been created, you may add or remove locations from it as needed.
Location Group Attributes
Section titled “Location Group Attributes”The Location Group Attributes settings page is where you can define and manage attributes tied to your location groups for analytics and automation.
To add a new attribute, click Add attribute in the top right corner. In the Add Attribute modal, complete the following fields:
- Attribute Label (required), a name describing what the attribute represents
- Attribute Type (required), select from String (Plain Text), Number, Date, or Boolean (True/False)
Click Add to save the attribute. To edit or delete an existing attribute, click the 3 dots More Actions button on the attribute row.
Integrations
Section titled “Integrations”Integrations & API Keys
Section titled “Integrations & API Keys”The Integrations & API Keys settings page is where you can set up and manage integrations with external systems and their associated API keys.
The page displays a table of all configured integrations with their name, assigned role, and last active date. To add a new integration, click Add integration and provide a name and role for the integration’s API keys.
To manage an existing integration, click the 3 dots button to the right of its name. Available actions include: Remove, Manage locations, Invalidate OAuth tokens, and Manage API keys.